I am SO excited about writing this post! Let me tell you why 🙂 When I saw this tattoo paper technique I just knew I had to give this a go. Because although you may be a pumpkin lover, not everyone is a fan of having the bright orange variety in their home as a display. And so the thought of being able to share a neutral pumpkin display as an autumn decoration with you guys got me VERY excited.
why you should be excited too!
But that’s not the only reason I’m excited. I contacted the amazingly talented Isabelle from Opiadesignsstudio on Etsy. Who kindly agreed to let me give you this gorgeous printable for free as a download. Can I have a HUGE “Thank you” for Isabelle?
This means you can download and print this beautiful watercolour arrangement for absolutely nothing and have a go at making this project for yourself. All you need is a printer, some of the tattoo paper, a (white) pumpkin and you’re all set!!
And if you want a different design, check out the other wonderful creations and designs that Isabelle has to offer in her Etsy store. Not a fan of pumpkins? You can use the same technique on a canvas too (check out the bottom of this post where I have used this on a mini canvas).
What you need for this tattoo transfer project
- A pumpkin (I used a ghost pumpkin that we picked recently and gave it a light coat of white acrylic paint to make it even whiter, but this is of course optional!)
- Some paint for the pumpkin (optional as above)
- Tattoo stencil paper – I got mine from Amazon which gives you 2 large sheets. This is enough for a few projects!
- A lovely print – you’re all set with this one. Use the download here. Or a second option here.
- A pair of scissors – I would not be without mine from Jim Holtz
- An ink-jet printer – we’ve got this Canon one
- A damp cloth
- A popsicle stick or credit card
Here’s how you tattoo it!
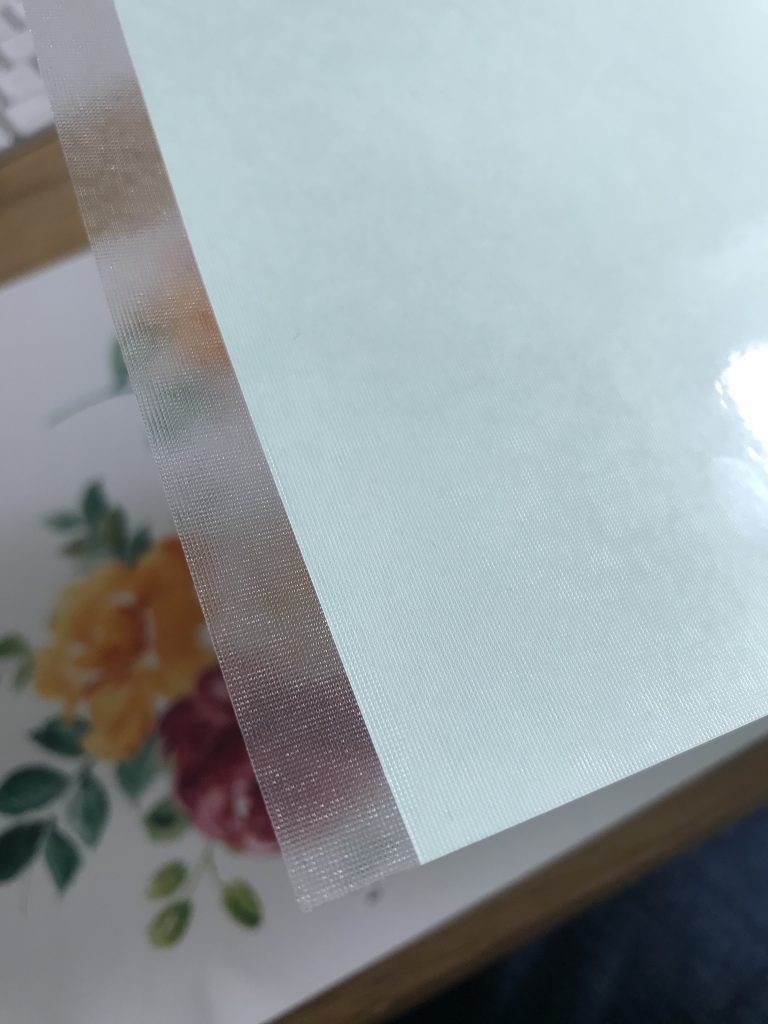
Read the instructions on your tattoo paper before starting this project. Download and print out a design onto your tattoo stencil paper. Just a side note – If you are going to be using you own design that involves wording, make sure you are printing it in reverse (you can just about make out a small monogram I did in the right hand side corner – see how it’s in mirror image?).

Get the sheet of adhesive “transfer” paper and carefully peel off the strip of the backing paper. Line this up with your stencil paper (pic 2) and smooth the transfer paper over your design (adhesive side down – pic 3). Take it easy doing this and try to get it as smooth as possible to avoid any wrinkles. Use a credit card or something similar to smooth out any wrinkles if needed.


Cut your design into the desired shape.
watch how i do the rest on facebook!
So, I did the rest of the project on a Facebook Live. You can catch the replay here for the full technique!
Peel the backing off your design. Press the paper (sticky side down) onto the pumpkin and gently press down working from the middle to the outside of the design.
Get a damp cloth and repeat this process. Work from the middle and move outwards. Smooth down the edges, making sure to press it down carefully to avoid any tears.
When this is done you are ready to lift the backing off the stencil. Carefully lift off a corner and peel away. The paper should come away quite easily at this stage. Check to make sure your design is staying on the pumpkin. If needed, take your damp cloth again carefully press down on the design to get it to stick.
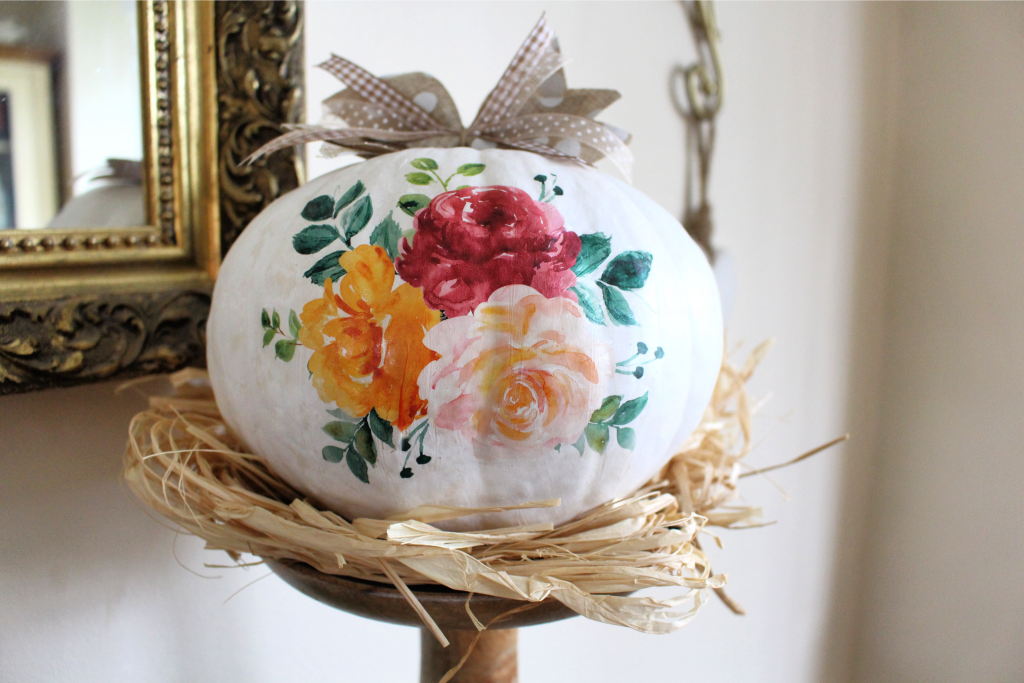
And of course, I just had to finish it off with a messy bow on top!


I absolutely love how this has turned out and will definitely be using this technique in future for other projects.
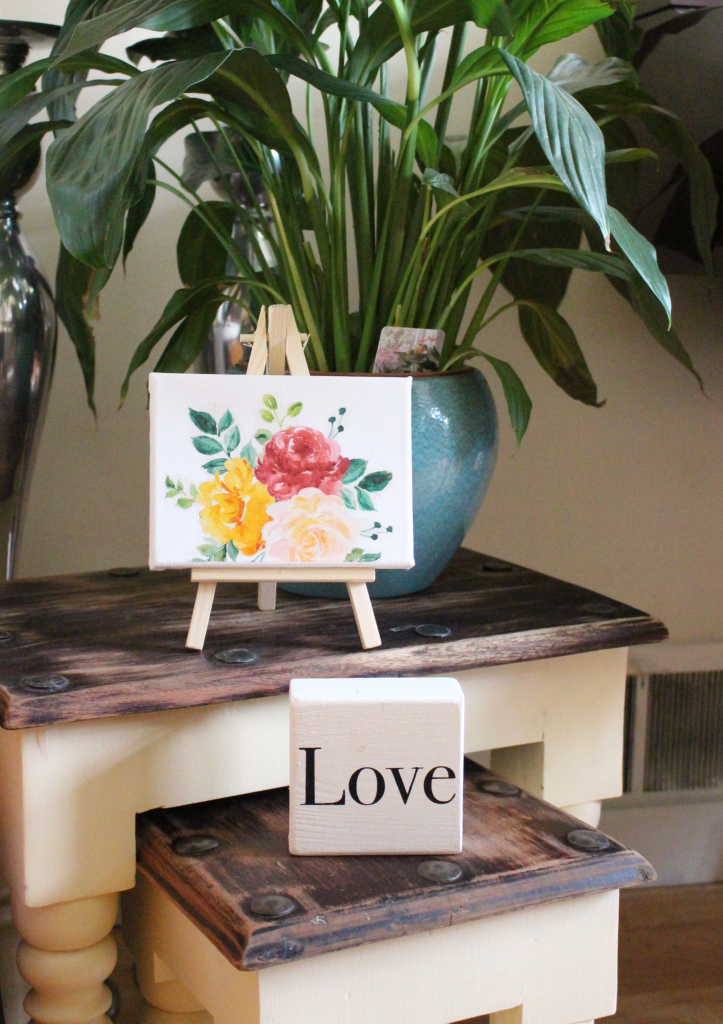
In fact, I used a left over second transfer on a small canvas that I bought in The Works for £2. Which just brightens up this little corner under a plant 🙂
Finally, just another huge thank you to Isabelle for her amazing art work.
Would you Pin this for me?
Some of the links in this post are affiliate links, which means I earn a small commission if you decide to use my links to purchase something (at absolutely no extra cost to you!). This will allow me to continue to share great ideas and projects with you, so I am very grateful for your support!
Leave a Reply