You may have seen my recent cork pumpkin picture? If not, you can check it out here. I used up a few old corks with that project, but I still had LOADS left over. And so, while I had all the stuff out anyway, I thought I’d take the opportunity to use up some more and create another fun pumpkin. It’s super simple but I think it’s turned out very cute for a bit of autumn fun 🙂 Here’s how you can make your own.
What you need to create your cork pumpkin
- I used up 19 old corks (I used the larger variety although the small straight ones may work even better!). If you haven’t collected them, you can buy some here.
- Acrylic paint – I used some pumpkin colour and white paint
- A brush or sponge dabber
- Hot glue gun
- Some craft leaves
- A bit of string
how to create your cute cork pumpkin
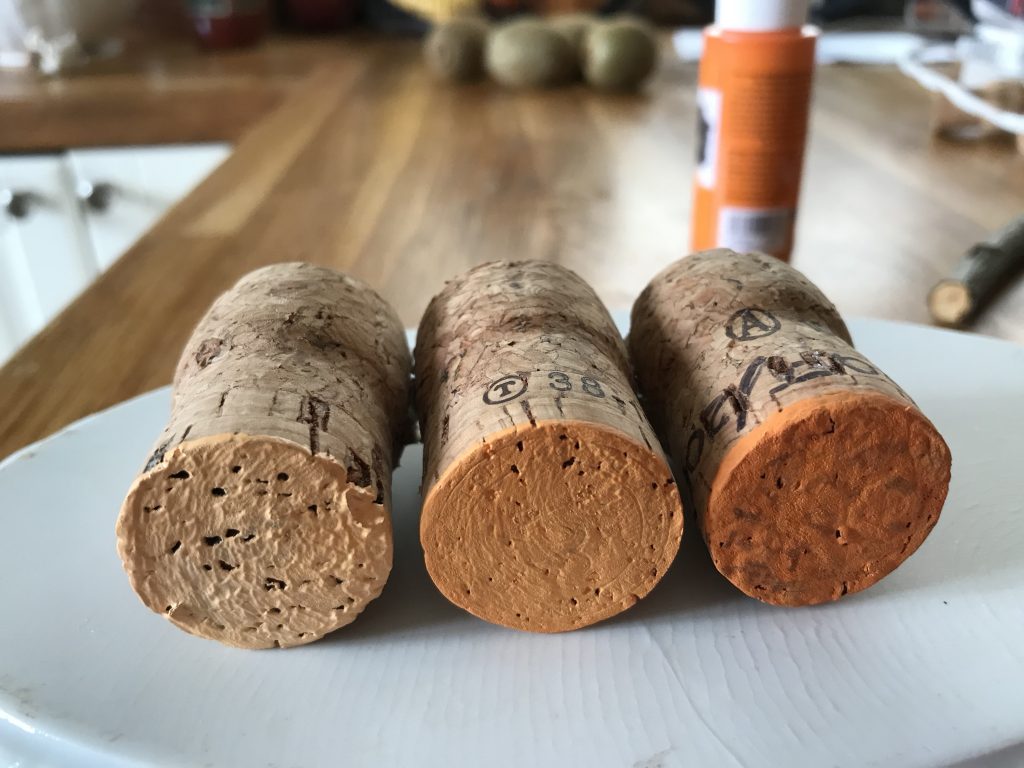
I usually start out by having a bit of an idea of the design I’m going for, so did a “dry run” of what corks were going to go where. As you can see, I wrote all the special occasions of when we had the corks on the back :). The original plan was to keep them in a frame, but I never quite got round to it and also ended up with loads of corks with no date (and absolutely no idea what the occasion was).

Next, I painted the flat sides of the corks in a variety of different orange colours. Now, how you do this is totally up to you. Of course you can just use one block colour, or you can do what `i did and have similar colours, but a slight colour variation of the same hue. I painted 6 in the bright orange, and then made two lighter shades of orange by adding some white. Paint the remaining corks in the two colours.
By the time they were all painted, they reminded me of a small terra cotta army .. all the pretty colours 🙂

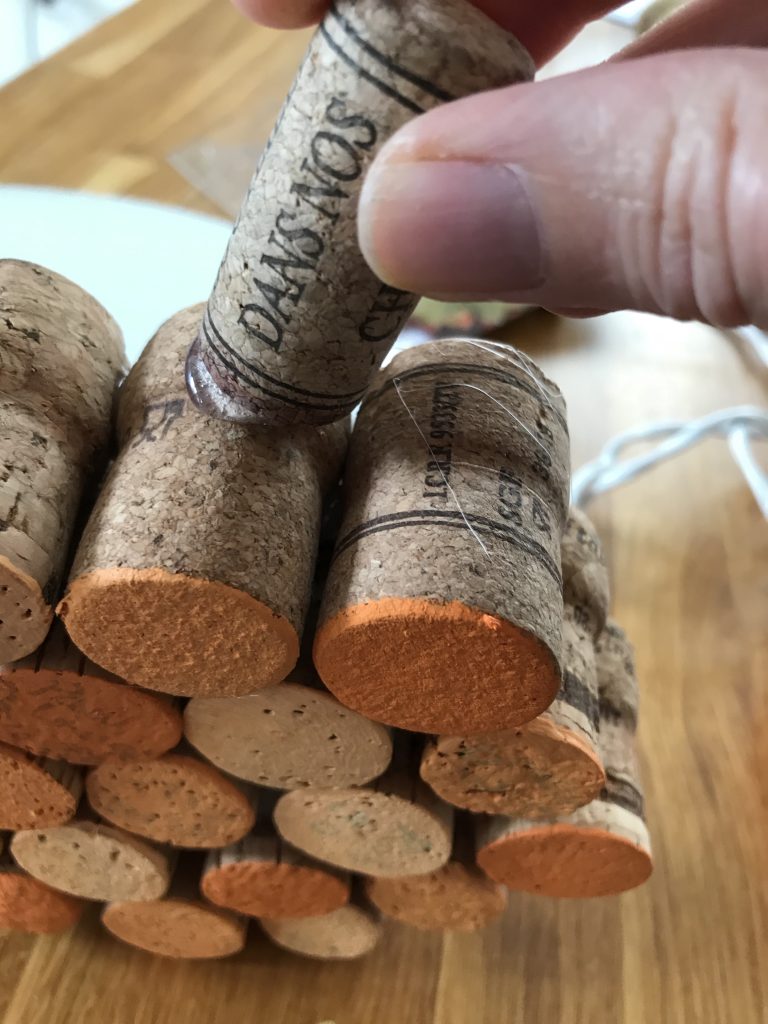
Wait for them to dry and get your trusted glue gun out. Stick the first three corks together with the hot glue. These will be forming your bottom row.
Once the first row is completed you start layering your pumpkin with the next row of 4. Just sticking them on top as you go along. Like this:


Next, create a row of 5, then 4 and then 3 again.

When you’ve finished building your pumpkin, grab one last lost cork which you’re going to be using as the stem. Just hot glue it on top at a slight angle. Like this:
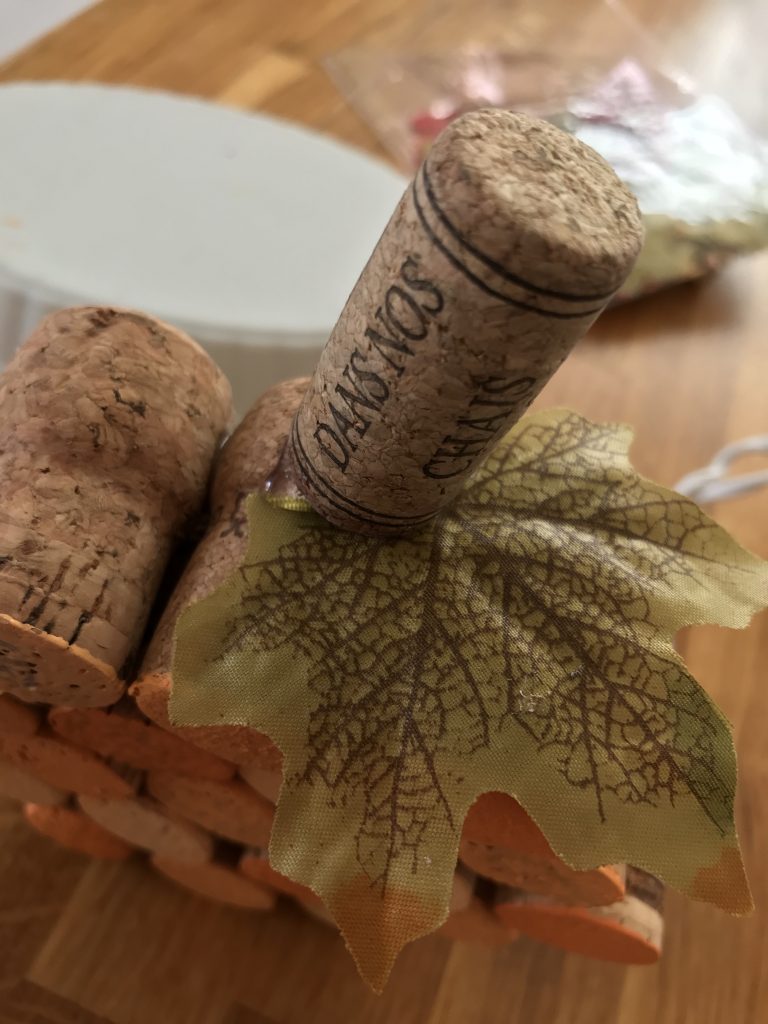
finishing touches
To finish off your pumpkin, made entirely of corks, add some craft leaves around the stem. I got these from The Works and used them on a previous project which you can check out here. They’re great for adding a bit of whimsical detail to your autumnal projects. Tie a double piece of string around the cork and that’s it!

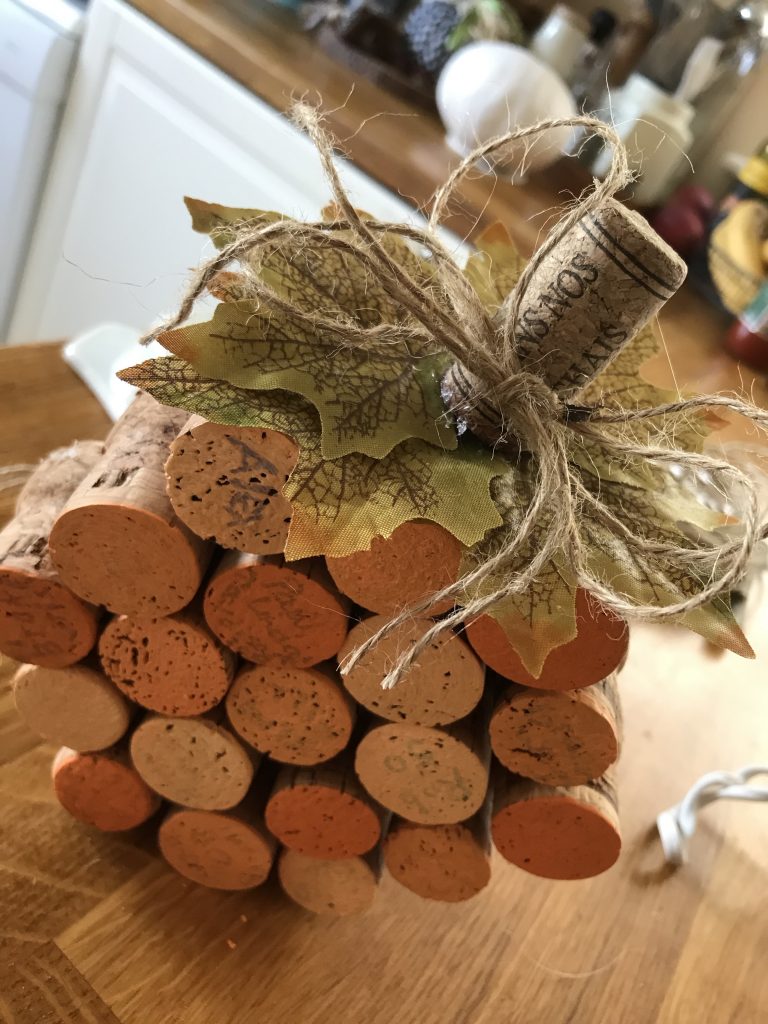
As you can see from the close up, you can still see some of the writing pop through the colours but that’s OK. I originally started collecting these to remember the special occasions we had them for so I quite like the fact that you can still see it!
the results!
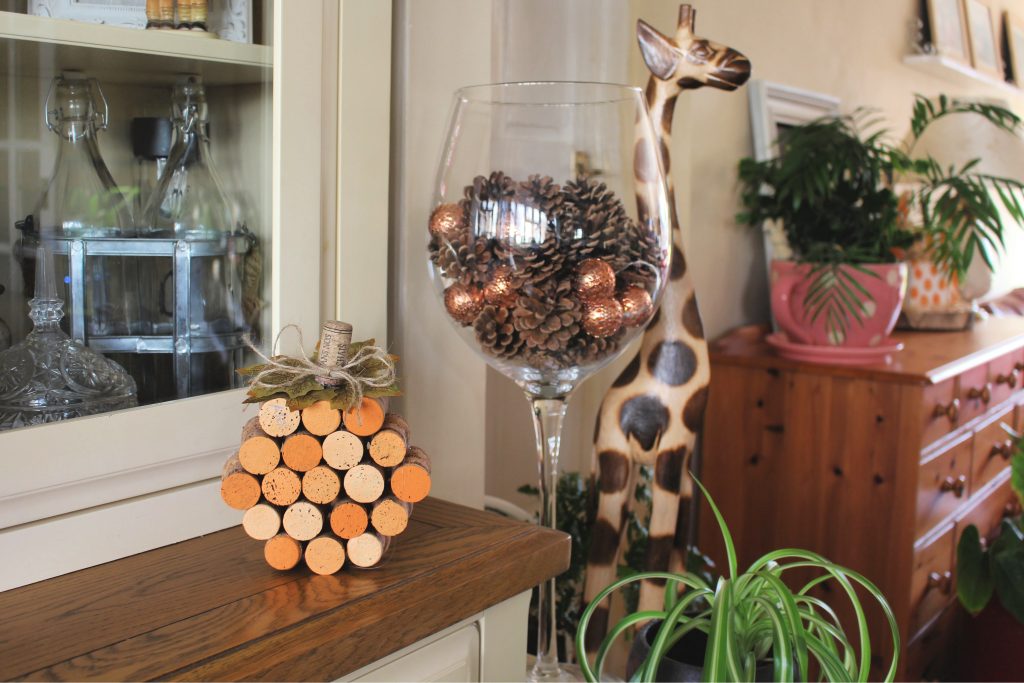
Here is it just popped onto our dining room dresser.

I mean,how cute is that for just some old corks and a bit of paint 🙂

Let me know what you think?
Don’t forget to find me on social media!

Some of the links in this post are affiliate links, which means I earn a small commission if you decide to use my links to purchase something (at absolutely no extra cost to you!). This will allow me to continue to share great ideas and projects with you, so I am very grateful for your support!
Leave a Reply