One of THE best things about doing craft and DIY projects is using everyday items in a different way! I’ll be honest, when I got these straws this project wasn’t the first thing that I had in mind! There’s a link to my other project later down in the post, so keep reading 🙂 Anyway, I couldn’t resist the cute little heart and designs on the straws for a Valentine project. It’s been heaps of fun playing with these cute colourful straws. Let’s have some fun!
here’s what you need
Heart print out – you can find mine here.
Cardboard – I used the back of an old box 🙂
Cute Colourful Straws
Hot Glue
Ribbon (optional!)
Sticking with the whole LOVE theme, I printed off a heart with my printer, traced it and then made a cardboard cut out.


So far, so good for a budget project!
Now, as they say, there’s more than one way to skin a cat. I don’t know WHY they say it .. it’s a horrible thing to say! For my first attempt I cut each individual straw to size. Which was fine, but it took a bit longer than I wanted! Especially as I was going to share this project on a Facebook Live too. And who has time to sit and watch me cut straws to size? Right?? Anyway, this is what the progress looked like.
I just marked each straw with a small pencil mark and cut to size. Before hot gluing it to the cardboard.


I’ll show you the finished article for this one in a bit. It turned out CUTE!! But before I show the results ..
here’s Another way to attaching your straws
Anyway, back to the Live and a MUCH easier way of doing it. The Live itself was .. well .. let’s just say it was a technological challenge. I had to log off twice because of sound issues. But we got there in the end! If you want to see how to cut around the straws, you can catch the final installment with the result here.
Basically, this is how simple this little project is:
1. Get your heart cardboard cut out.
2. Hot glue the straws onto your heart vertically. I started from the middle and worked my way out to both sides.
3. Get a sharp pair of scissors and cut around the heart shape
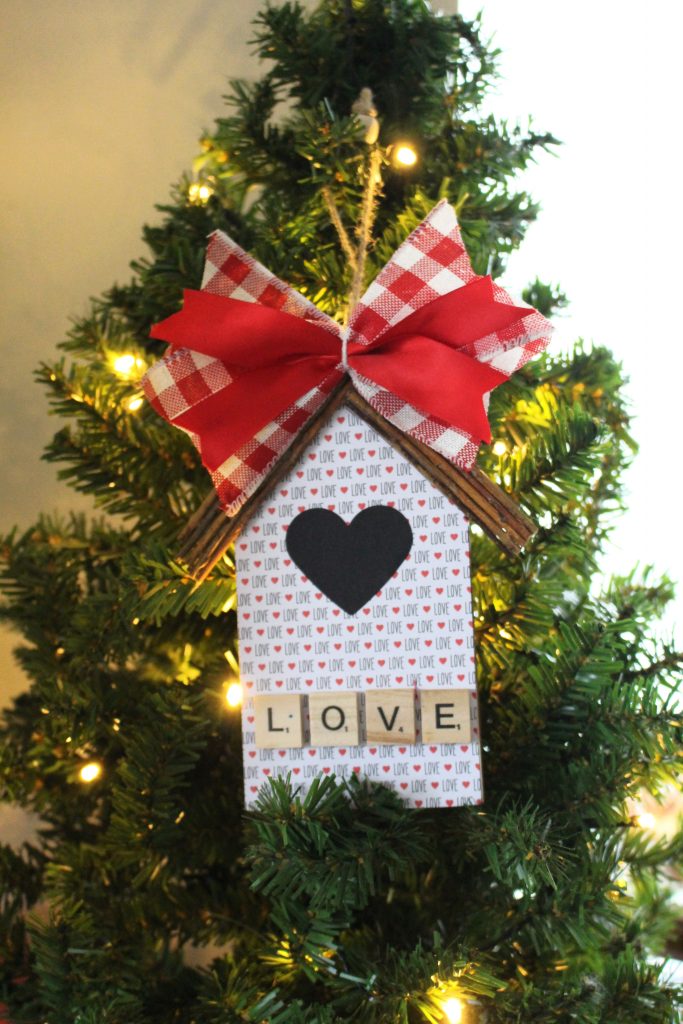
4. Add a little bow (optional but I’m a sucker for adding a bow to projects!) and a ribbon to the back to hang it
5. Find a place to hang your masterpiece, stand back and admire!
Now tell me that wasn’t THE easiest project??

I added mine to the chopping board in our kitchen. So our counter now looks like this (P.S. .. you may recognise the bookstack from a previous project? – you can find it here)

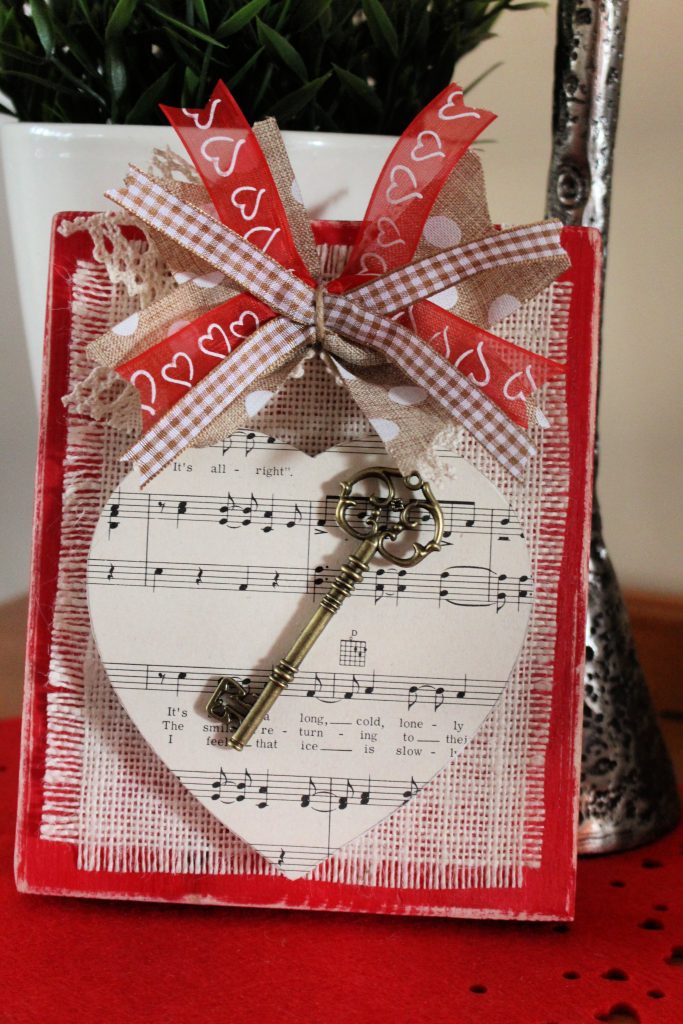
Remember that other straw project I was talking about? You can find it here! It’s one of my all time favourites and you can have it on display all year round!

Pin me for later!

Some of the links in this post are affiliate links, which means I earn a small commission if you decide to use my links to purchase something (at absolutely no extra cost to you!). This will allow me to continue to share great ideas and projects with you, so I am very grateful for your support!
Need more inspiration?
I think you’ll love these projects!

Follow me on Social Media!
Leave a Reply