If you’ve had a look around on the blog, or on my Social Media, you know that I LOVE to mix things up. A LOT!! I’m always changing things around or creating things. But that also means that I don’t always want to spend a lot of money on items that I may only use for a short period of time. Like coasters.
And besides, and maybe more to the point, I can’t always find the ones I’m looking for!! And so making your own budget napkin coasters is a great way of matching your seasonal decor. Here’s what you need to create your own.
What you need to create your own napkin coasters
A tile – I use a glossy white tile – mine came from B&Q here.
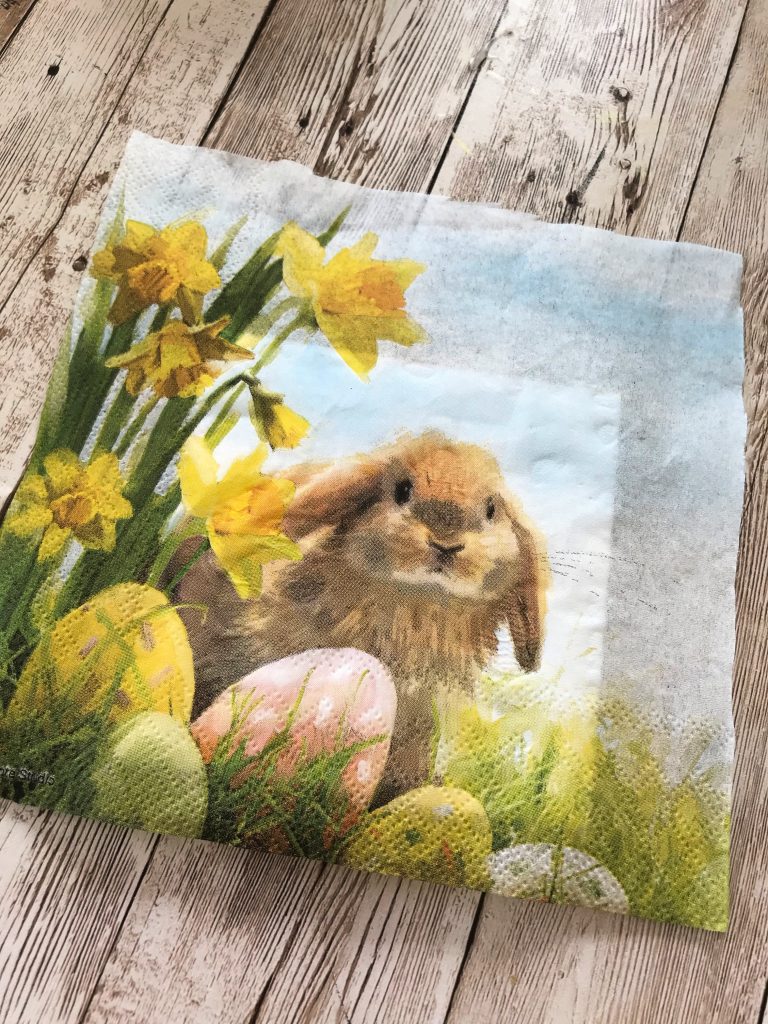
A napkin of your choice – Etsy do some absolutely gorgeous ones! Check out some Spring ones here
Mod Podge
A brush
Some cling film or a sandwich bag
A rolling pin (optional)
Some cork or felt dots
Sealer (optional as I normally use Mod Podge)
Sanding block or sand paper
and here’s how to do it!
Before you start with the Mod Podge, take your serviette and prepare it for your tile. It’s easier to have it to hand as it can be quite fiddly to separate the layers. By which time the Mod Podge has partially dried up. I’m speaking from experience here!!

Gently prize the top layer of the serviette away. You’re only going to be using the top layer of your napkin. This to me is the most time consuming bit of the process and can take a bit of time. I normally find that cutting a very small corner off the napkin and giving it a blow (you know when you’re opening up one of the plastic shopping bags that are stuck together?!) helps. But generally, just be patient .. and keep calm. Once you’ve managed to separate the top layer, put it aside until you need it.
using tiles
I like using gloss tiles for this project – they’re cheap, there’s no need to paint them and completely smooth, which makes it much easier to work this project. However, I’ve also seem people use slate coasters and paint them first. Whatever way you chose to do, make sure you have a light background which will help to make your image come out nice and bright.
Make sure your tile is dirt and grease free. Cover your tile in a generous layer of Mod Podge. Give particular attention to the edges but don’t over-glue.
Tip – Do as I say .. not as I do 🙂 – avoid getting Mod Podge on the actual sides. You’ll see later that I forgot and mine didn’t come out 100% perfect .. just being honest here so you can learn from my mistakes! 🙂

Once you are happy with the Mod Podged tile, take the top layer of your napkin and carefully place it on the tile where you want it to go. Once it’s on there, there won’t be any budging it, so make sure you lower it on gently, working from one side. The aim is to try and avoid any creases or bubbles (as much as you can).
the cling film trick!
Once your tissue is on the tile, take a small piece of cling film, or a plastic sandwich bag, and gently place over the tile. The cling film will provide a barrier between your finger and the tissue. This makes it a LOT easier to work out any creases or bubbles. You’ve still got to work carefully to try and avoid any tearing. At this stage you can use a small rolling pin to help you with this progress. When you are happy with the result, take off the cling film and leave it to dry.


Once the Mod Podge is dry, take a sanding block and gently rub away the napkin from the edges. I didn’t take any pictures of this, but you can check me out on Facebook where I made these on a Live so you can see how I did this. You can find the video here.
protecting your napkin coasters
I cut some cork to size and hot glued it to the back of the tile to protect the furniture when you’re placing it on a table.
Finally, give your project a few layers of Mod Podge to make it water resistant (although they won’t be completely waterproof!). It’s also worth mentioning that I would stick to cold drinks for these coasters. The heat of a hot drink may make the Mod Podge sticky!
I have made coasters like this before with my matt Mod Podge and have never had any problems – you can wipe them clean. One of my followers kindly forwarded me information on this product, which is a sealer glue and finish suitable for outdoor projects too. I’ve not tried it yet but will definitely be getting my hands on this in the future for some of the summer projects I’ve got planned 🙂
Or of course, you can spray them with a sealant for additional protection.
the results are in
And here they are – your very own napkin coasters! I only made two on this occasion, but will be getting my hands on some more tiles so I can make some for summer too. I’ve got a theme in mind!!
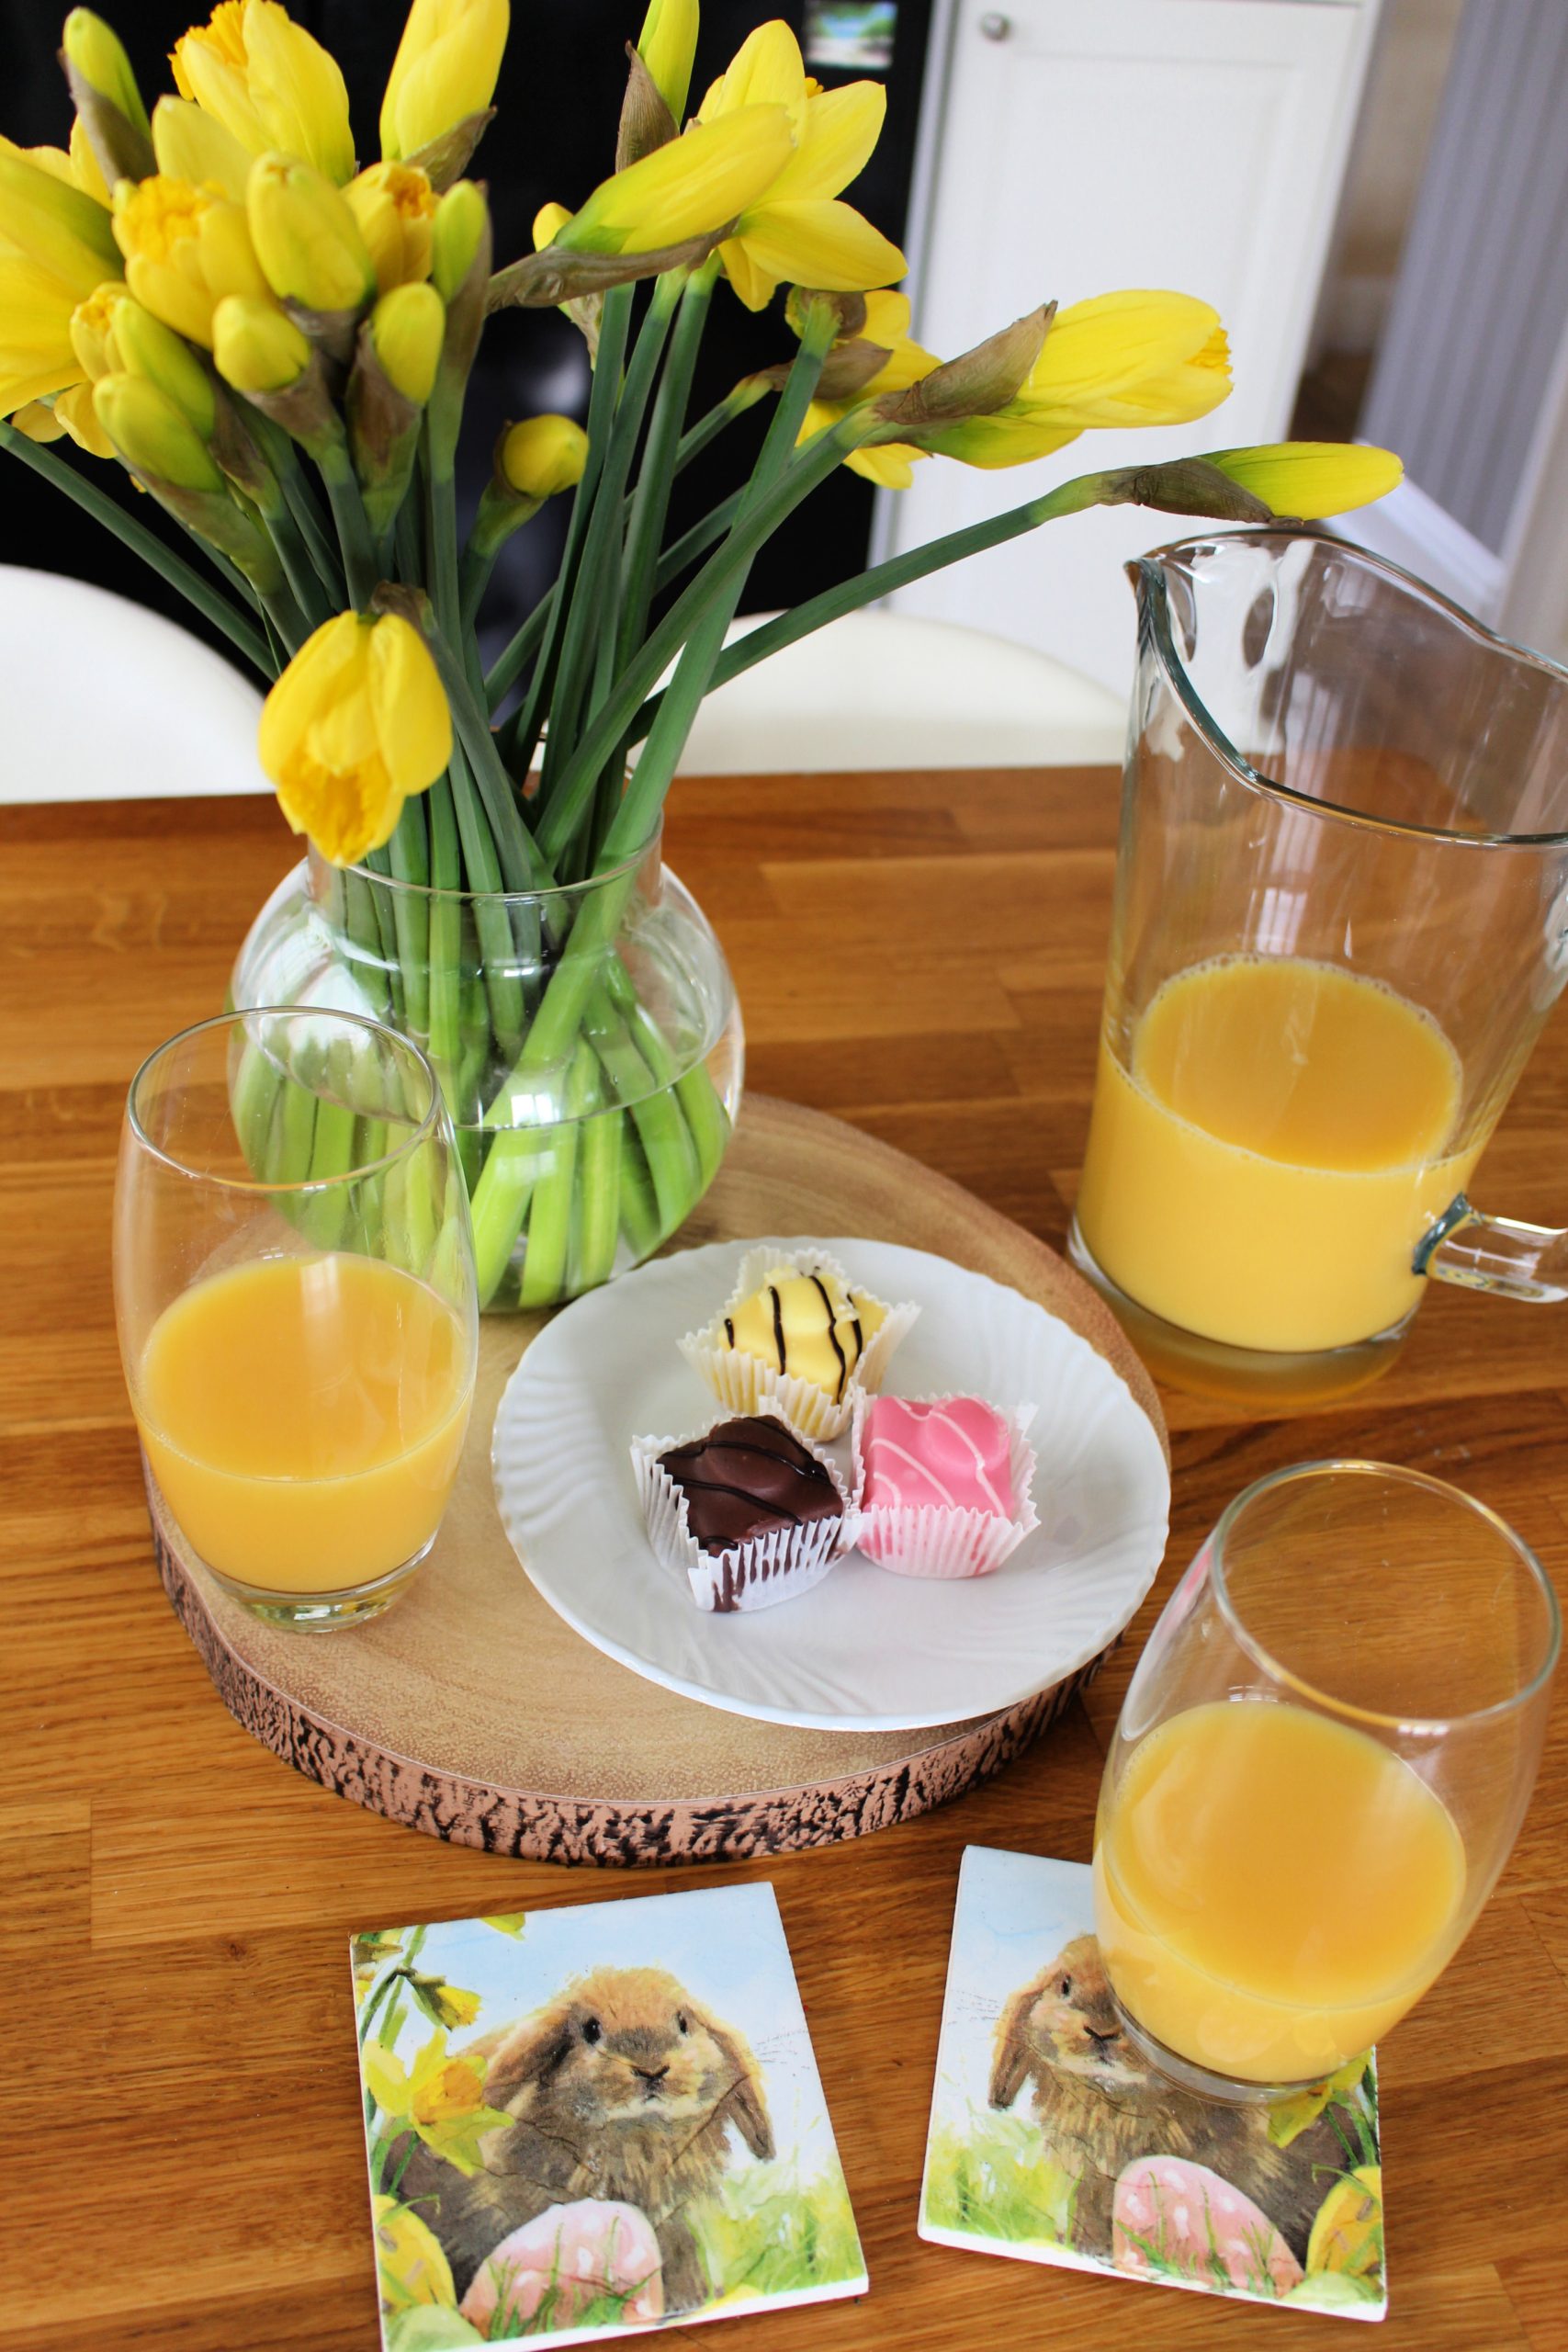
See what I mean about the edge? It’s not perfect, but definitely good enough for our Easter breakfast table this year 🙂
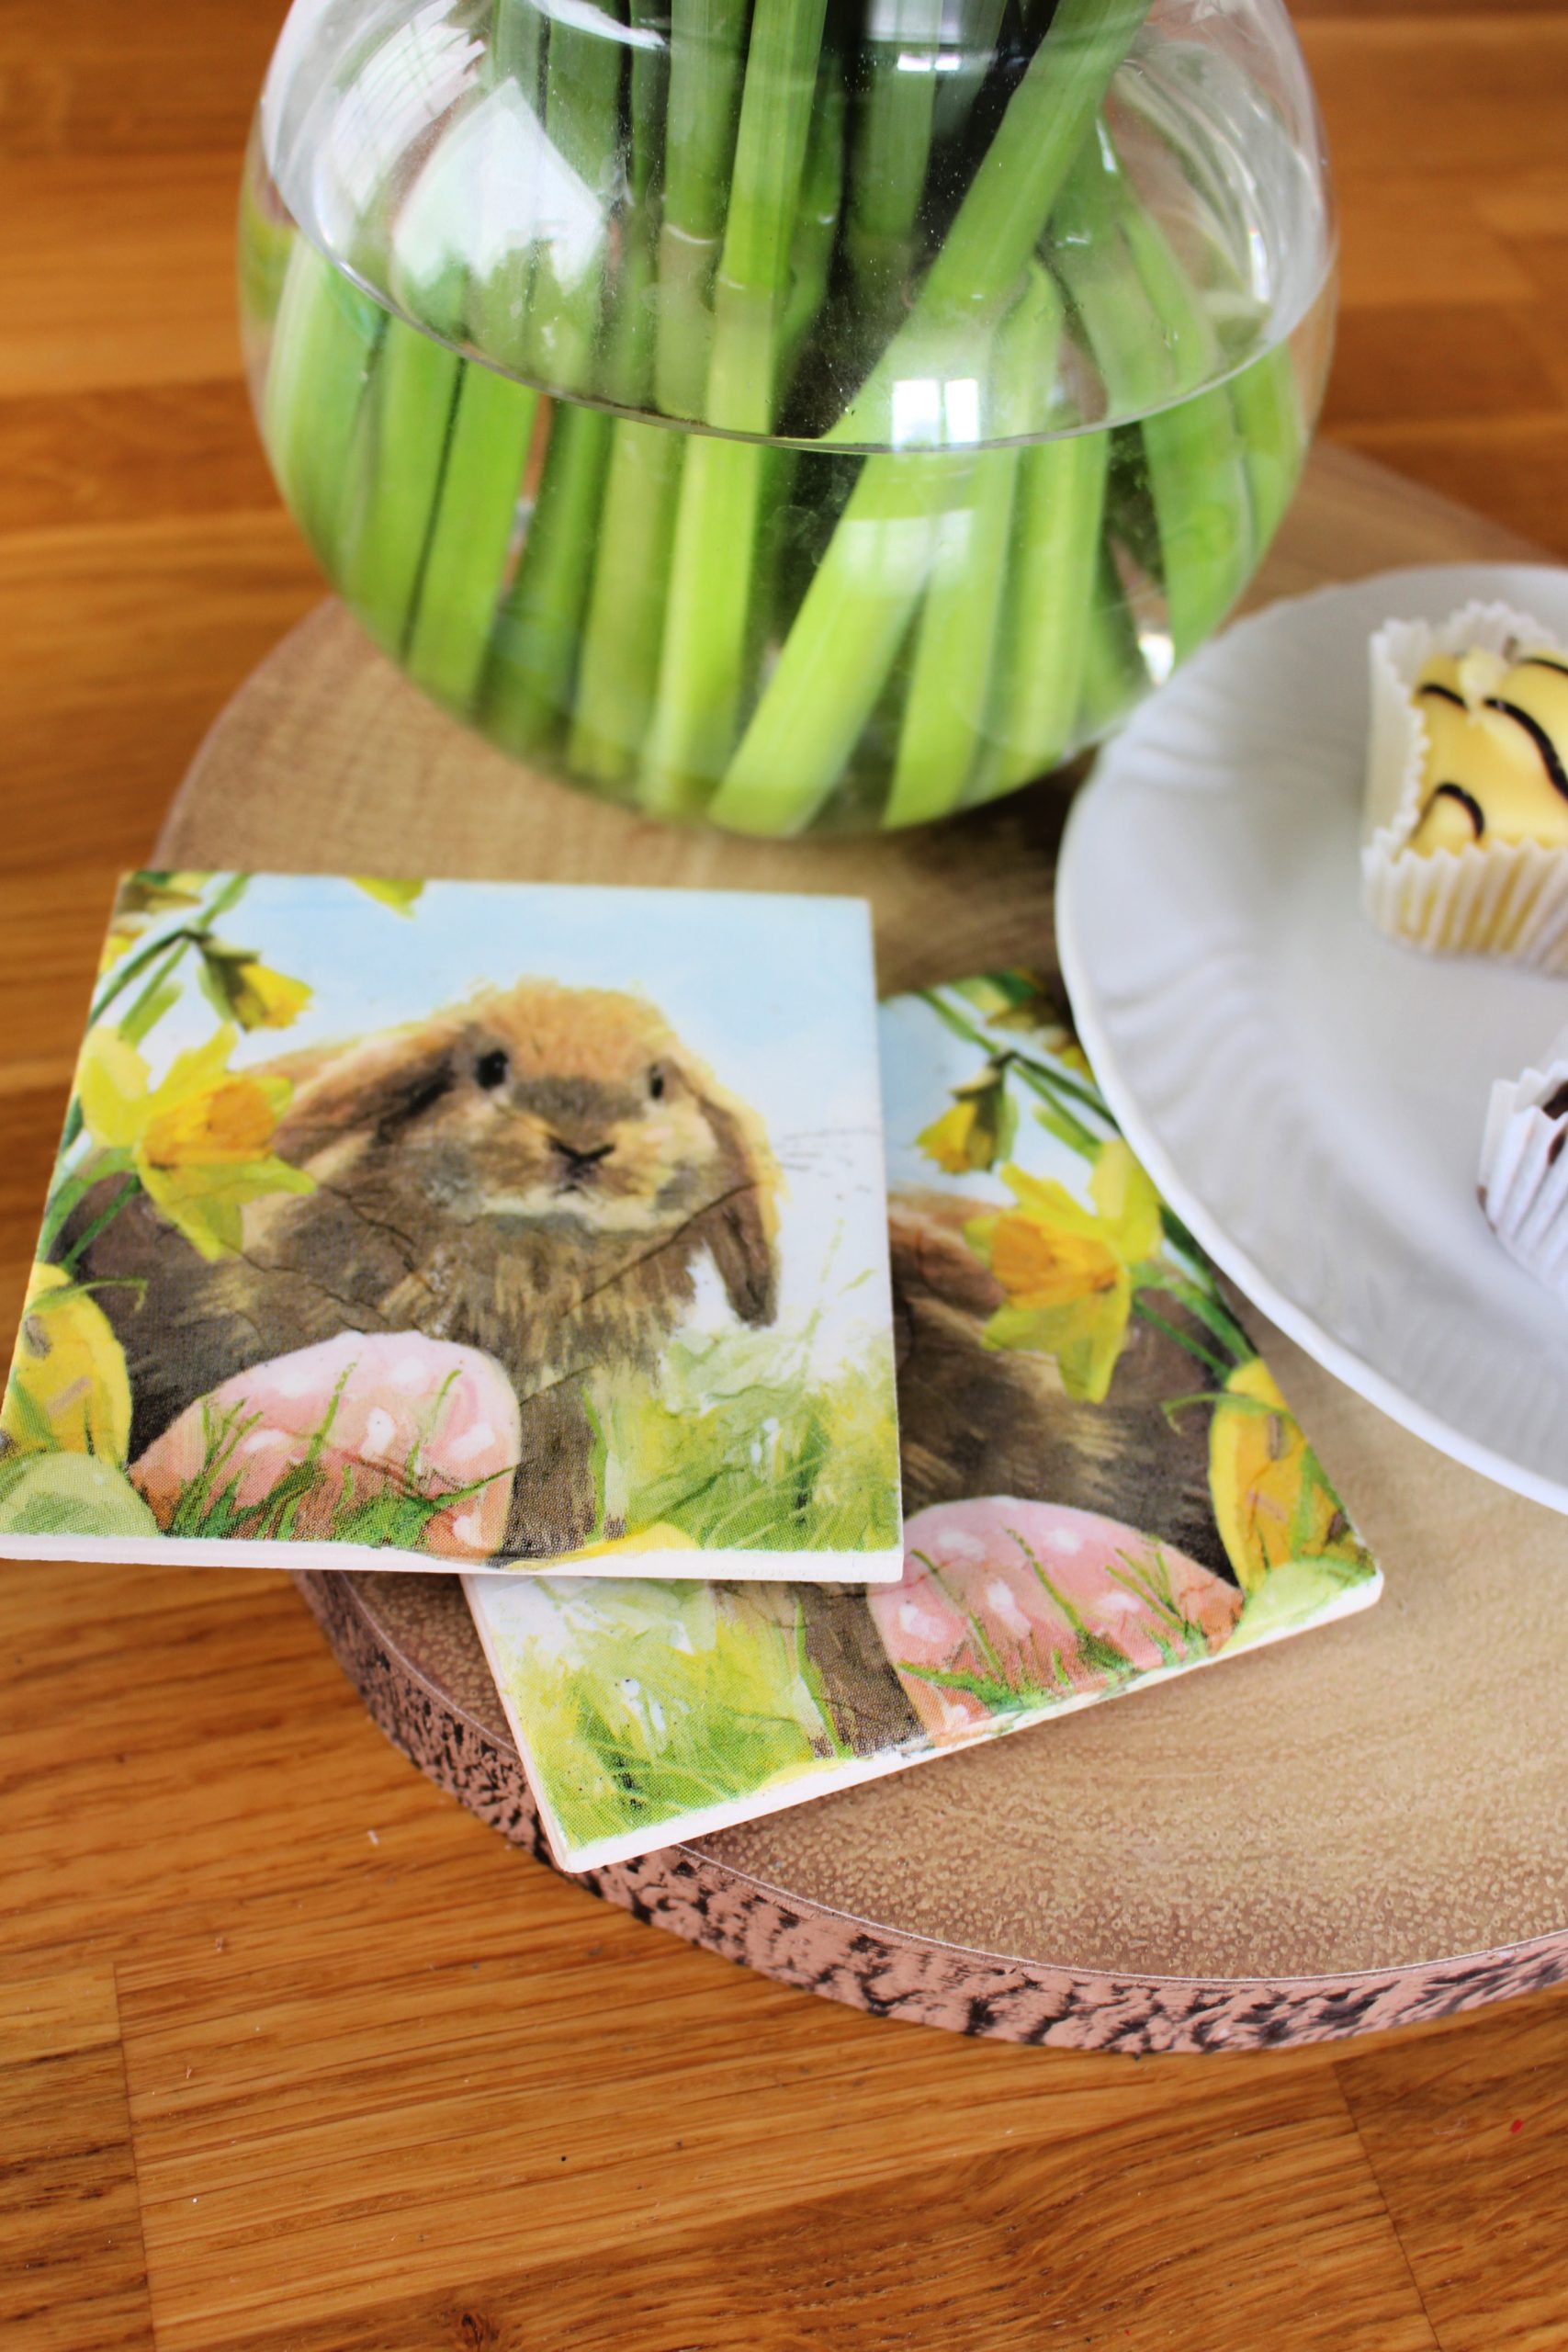
I love how you can match them to your own colour scheme and serviettes!


By the way, did you see the coasters I made from scrabble tiles last year? You can find them here!

Some of the links in this post may be affiliate links, which means I earn a small commission if you decide to use my link to purchase something (at no extra cost to you!). This will allow me to continue to share great ideas and projects with you guys, so I would be grateful if you did!
Here’s some other posts I think you’ll enjoy!


Follow me on Social Media!
Leave a Reply