What if I told you that before we had our current kitchen redone about 5 years ago we had white and blue tiles, lilac walls, and yellow units? (AND, before we bought the blinds we had orange, lime and yellow curtains too!) Crazy right? We painted our units because we didn’t have the money to replace them at the time. And although ALL those bright colours together sounds nuts, it actually worked. Well, .. it worked for us anyway.
Here’s a crazy, very impromptu, family moment snap shot from about 8 or 9 years ago so you can see what I’m talking about. Clearly this pic was taken WELL before I even considered starting a blog and was never meant to be posted on the Internet 🙂 So, excuse the mess as there’s a LOT going on, but who has time to clear up when you’re dancing in the kitchen with your family?
Anyway, I truly loved that kitchen and some of THE BEST family moments were spent there. And, as you can see from the pic, it was someone’s birthday as there’s a big old cake there too before we all tucked in!

here’s the colourful point ..
Anyway, there is a point to my story. And I’ll get to it. What I’m trying to say is that some colours that you think may not work together, sometimes totally do.
You know the saying “blue and green should never be seen”?! Says who?? .. I LOVE the blue/green combo! And even if a colour combo doesn’t work for some people, the ONLY thing that’s important is that they work for you! Don’t be scared to experiment with bright and bold!
And so on to my bright and colourful project. With this gorgeous napkin. Now, I get that lime green is not everyone’s cup of tea. But I love it! It shouts “Spring” to me, especially when combined with some of the other colours. Like pink or orange.
So this napkin was the starting point of my project. It bought it on Etsy and I think it’s super-cute!

what do you need for this bright and happy project?
I used a mini chopping board from IKEA. They’re less than £3 and I love using them. I did a Christmas project with one too – you can find the video for that here.
Some white acrylic paint
Masking tape (optional)
A paintbrush
Mod Podge (of course!)
Some cling film or a plastic sandwich bag
Ribbon to make a messy bow – check out The Ribbon Room for some great deals!
Daisies (optional)
And if you’re looking for something a bit more special on the ribbon front, I absolutely LOVE USATOUKWREATHS – she really does the most adorable ribbons and wreath accessories!!
how to put it all together
I made this one on a Live so I don’t have any of the step by step photos. BUT, you can catch the replay here if you want to follow me along.
Because you are only going to be using the very top layer of your napkin you want the background that you are going to be Mod Podging this onto to be nice and bright. I measured roughly where my napkin would sit and painted the background of the chopping board white with some acrylic paint.


Get your brush and give the white area a layer of Mod Podge. Make sure you cover those edges to get a good connection for your napkin.
Next, get the top layer of your napkin only (there are normally 2 or 3 layers – you will only need the top one). Carefully place it on the area where you want it, avoiding as many bubbles or creases as possible!
Cut off a piece of cling film and cover your project. This will form a barrier between the tissue and your finger to allow the creases to be worked out. Carefully smooth the napkin by pressing gently working from the centre outwards. A small rolling pin will help with this too.
Remove the cling film and leave to dry. Get a sanding block and carefully hit those edges to get a smooth finish. Once it’s all dry, give your project a few layers of Mod Podge to seal your masterpiece. Make sure to leave it to dry in between layers.
finishing touches
And of course I just HAD to add more colour! See the bit at the bottom that’s blank and still wood? I picked out a pink polka dot ribbon to add some more detail. Just hot glue to the chopping board, fold around the edges and secure with some hot glue at the back. In fact, off the Live I re-glued this with some double sided tape which sat much more neatly.

I added a colourful messy bow by picking out the colours of the napkin – white, green, yellow and pink!
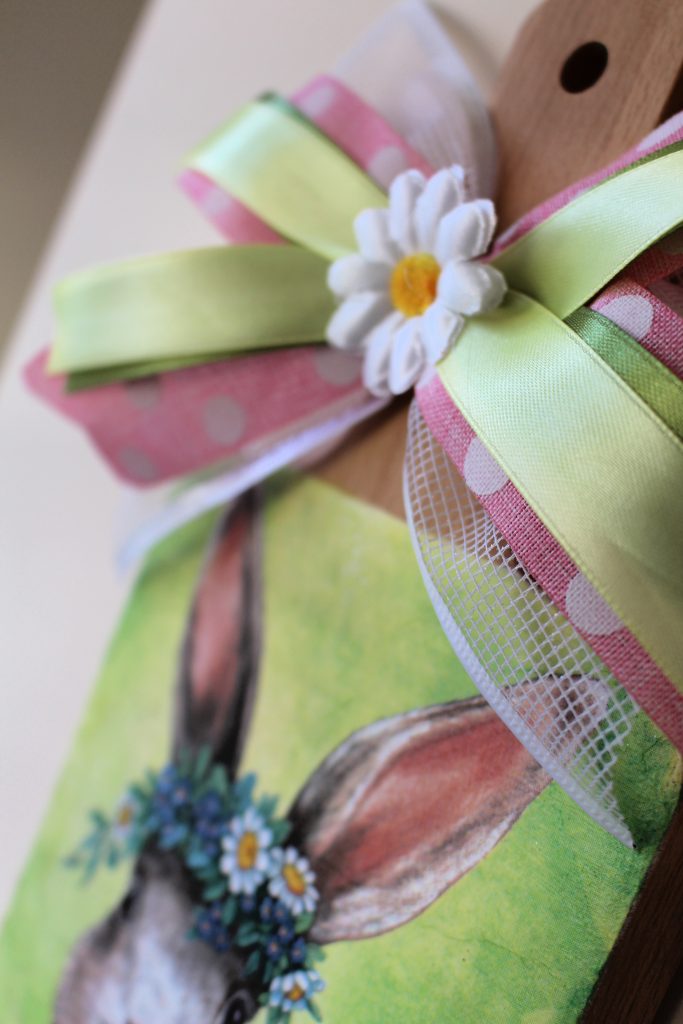
And finally I topped it off with a daisy, to match the flowers on the bunny’s head.

And here’s the cheeky bunny!! How gorgeous are those colours??

Pin me for later!

Some of the links in this post may be affiliate links, which means I earn a small commission if you decide to use my link to purchase something (at no extra cost to you!). This will allow me to continue to share great ideas and projects with you guys, so I would be grateful if you did!
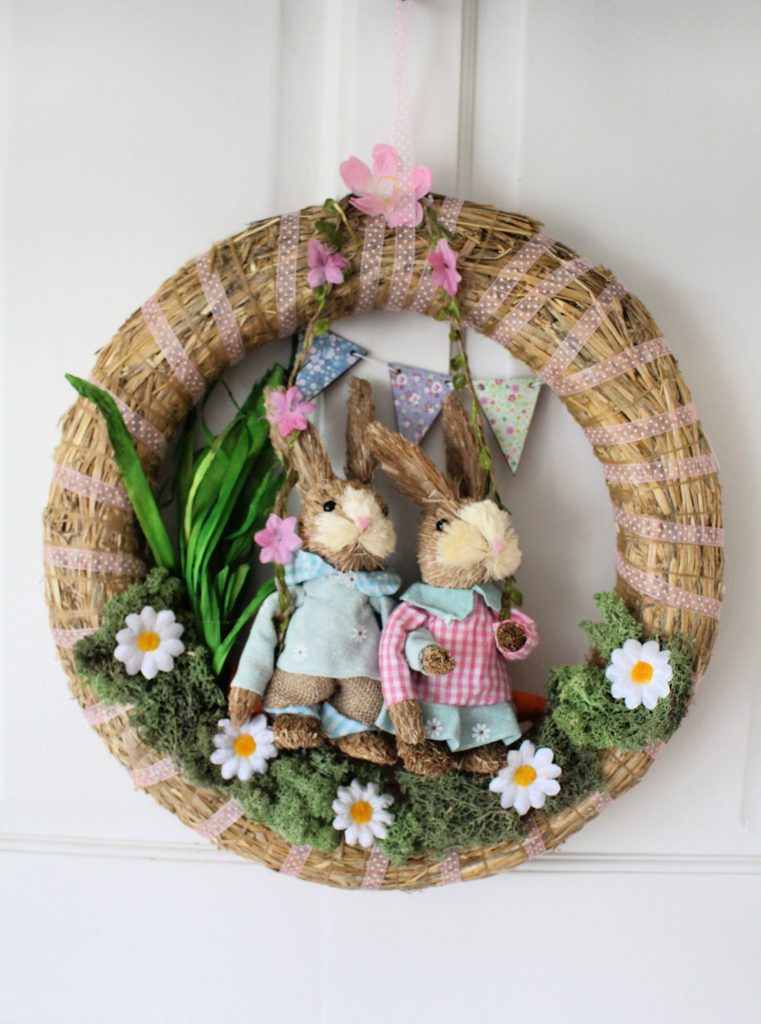
Here’s some more Easter & Spring inspiration!


Follow me on Social Media!
Leave a Reply