Sometimes I have to admit defeat .. Like when I tried to re-create these pumpkin picks .. I bought these in The Range and had a go at trying to make them with a polystyrene ball and some rope. It didn’t go well .. let’s just leave it at that 😉 Less said about my attempt, the better!

BUT, I won’t be defeated by a pumpkin pick!! So? … Bring on plan B.
If everything else fails .. add glitter!! Here’s how I made my own glitter and diamond dust pumpkin picks instead. And the good news? They are SO easy to make!
what you need for your pumpkin picks
Polystyrene pumpkins
Mod Podge
Acrylic paint
Diamond dust or Halloween glitter
Small piece of (green) ribbon
A small thin stick from the garden to make the stem
A chop stick or long-ish stick from the garden to create the pick
Some hot glue
ready for how simple this is?
Poke your (chop) stick into the bottom of one of your pumpkins and drop in a bit of hot glue. Glue your pumpkin onto the stick and leave to set.
Side note .. Make sure not to push the stick through all the way as we’ll be adding a stem to the top later, so make sure to leave some room for this!
With some acrylic paint (I used pumpkin colour but you can chose any colour you like!) cover the entire pumpkin and leave to dry.
I didn’t take any photos of these steps, but hopefully it’s fairly self-explanatory. If you want to see exactly what I’m doing, check out my FB video where I’m making these from start to finish!
This is what it should look like by now:

Once the paint is all dry, grab your Mod Podge and add a generous layer of Mod Podge to the whole of your pumpkin.

Now for the magic!! While the Mod Podge is still wet, take some glitter or diamond dust and start sprinkling! I made some of both .. and LOVED them both equally.

Diamond Dust! 
Halloween Glitter!
Use a bowl or a piece of paper to catch the waste as you’ll be wanting to re-use this! Tap off any excess of glitter and leave it to dry completely.
Once your pumpkin has completely dried, take a small piece of ribbon. Pierce a small hole in the top of the pumpkin and drop in a small amount of hot glue.
finishing off your pumpkin pick

Take your ribbon and place it over the top of your pumpkin. Take a pencil or another chop stick and press the ribbon into the hole slightly.


Finally, add a very small amount of glue to the ribbon in the hole and press in your twig to to create the stem.

Told you it was easy!
glitter baby!!
Now don’t tell me these aren’t the most adorable DIY pumpkin picks?

Tell me which one is your favourite? Diamond dust or glitter?

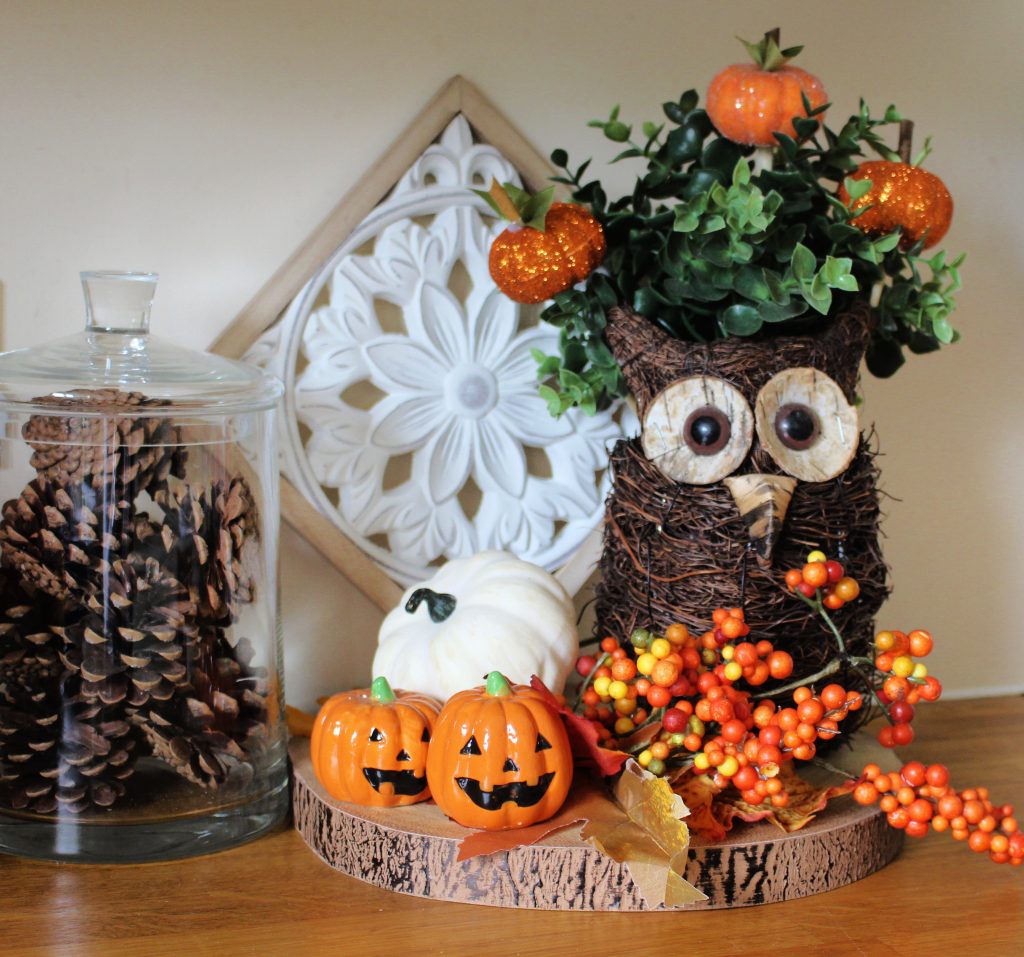
If you don’t want to go BIG when it comes to autumn decorating but still want to add some colour, these are great to add to some plants!

Combine with some pine cones and an autumn pick and you have yourself a little autumn display in no time at all!
Here’s another idea for a quick addition to an autumn display! Think you can’t make a wreath? Think again! This scarecrow wreath is SO easy and it’s had all the hard work done for you!
Would you Pin me?

Some of the links in this post may be affiliate links, which means I earn a small commission if you decide to use my link to purchase something (at no extra cost to you!). This will allow me to continue to share great ideas and projects with you guys, so I would be grateful if you did!
Follow me on Social Media!


Leave a Reply