One of my goals recently has been to bring order to our chaotic home!! It’s a lost cause I know, but you know .. New Year’s resolutions for 2022 and all that! And sorting out photos seemed a good place to start!
We’ve got SO many of them (anyone else love taking and keeping photos of special memories but then sticking in a box never to be seen again? 😉 .. no? just me? ) Anyway, .. so many of them were in no particular order. So I ordered these boxes (which are absolutely brilliant for getting them organised!). BUT some of the photos I didn’t want to hide back in the box!
Like these ones of my parents on their wedding day. It was a great opportunity to combine them with some of the sentimental items that have been stuck in some drawers, and create a special memory frame. With the addition of some gorgeous diamond dust of course!!

Here’s what I used:
Hobbycraft shadow box frame
Scrapbook paper
Lace
Old jewellery
Diamond dust
Some glitter stickers
Double sided tape
Mod Podge
putting together my box frame
The beauty of this project is that there is really no right or wrong way to do it. Every box frame will be completely unique and personal! Just work with what you’ve got and collect items that are meaningful and sentimental to you.
For me, I had the photos enlarged slightly as I wanted them to stand out.
Next, I took some heavy card and attached the photo to the card with some double sided tape. I knew I would be adding Mod Podge to the photo and I didn’t want it to “bubble”. Sorry, not pictures of this step, but just add double sided tape to the back of the photo and stick down on some card.
Once it was secured, I took some Mod Podge with a small brush and added Mod Podge to the areas I wanted to diamond dust. I opted to go around the shape to have the background in glitter, but keep the main focus of the photo as it is.

Sprinkle the diamond dust on when the Mod Podge is still wet, tap off any excess and leave to dry. Don’t worry about the cloudy look – it dries clear and will look amazing, I promise! 🙂

I work in stages, continuing with the Mod Podge where I left off and following the same process.


When all the diamond dusting was done, I mounted the photo onto some black paper to give some contrast.

For the main background I looked for a paper pad that was 12″ by 12″ and found a design pad called “Vintage Diary” which could not have been any better for what I had in mind!
adding some personal items to your box frame

I found an old silver bracelet of my mum’s, which she used to wear a lot. I gave it a clean and added some small sparkly craft gems. As well as adding some gems to the flowers on her veil.

To add some more interest I placed the bracelet on a piece of lace first.

Next I picked out her favourite brooch and attached it to her photo.
I usually like to have a bit of a “play” with the items before gluing them down permanently.
The vintage key in the earlier photo didn’t make the final cut! It was just a bit too hectic for my liking 🙂
and there’s more!
I did the same process for my dad’s photo. (Although I’m not sure how he would feel about being glittered 😉 ), sorry dad!

He was a handsome chap wasn’t he?!

You can really see the sparkle of the diamond dust in this photo.

My dad was a proud navy officer and so I chose to display some of his brass buttons from his uniform in the frame with his photos. Together with one of his shoulder lapels and some of his pins.

And finally, the name sign that used to be on his office door.
I love this way of displaying photos as you can add so many personal touches to them.
I’m so pleased they didn’t disappear back into the box and are now displayed in our home like this.

Don’t forget to Pin me!

Some of the links in this post are affiliate links, which means I earn a small commission if you decide to use my links to purchase something (at absolutely no extra cost to you!). This will allow me to continue to share great ideas and projects with you, so I am very grateful for your support!
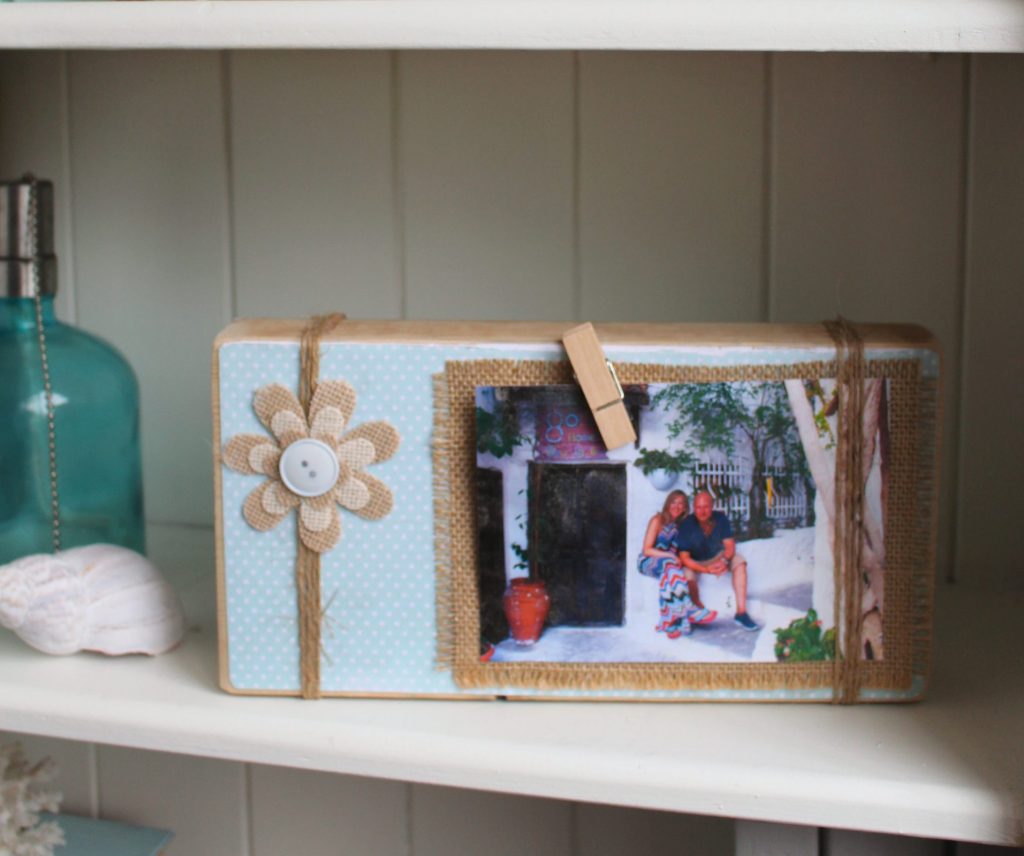
Want another fun way to display a photo?
I think you’ll like this post too!
Follow me on Social Media!


Leave a Reply