Have you seen them this year? These tinsel bunny shapes for a £1? I picked mine up in a local craft shop, but I’ve also seen them in The Range.

It’s not at all “a bit of ME” 😉 .. BUT I figured it had some good bones and couldn’t go wrong for a quid! I had NO idea what I was going to do with it, and how to use it, but eventually settled on this ..
How to transform your tinsel bunny
Well .. the tinsel had to go. That was step number one. It actually came off really easily and left me with the frame work of the bunny head.


I decided I wanted to keep this bunny quite neutral and still had lots of craft twine in my craft supplies. So, one thing lead to another and after a LOT of winding around, this was the result.
See some of the little plastic bits sticking out? I took them off with some pliers, but other than that it’s just a case of winding the twine around the ear shape.
Secure the twine in place with the odd drop of hot glue. And secure any new threads with a knot at the back.


The next step was equally as simple, but it did take a bit of time, so get comfy and grab yourself a hot drink. And quite a bit of twine too.
I wrapped the twine around the head shape of the frame. Just filling up the gaps where there are any. And attaching the twine with the odd dot of hot glue. Until I had this ..

giving my bunny some colour
Gone is the cheap tinsel and we now have the perfect backdrop to add some bright colours. I used some orange polka dot materials to trace the original ear shapes. I cut this out slightly bigger because the shape would need enough material to be hot glued to the back of the ears. Like this ..
And if you don’t have any suitable material, of course you can just use some colourful cardstock instead!


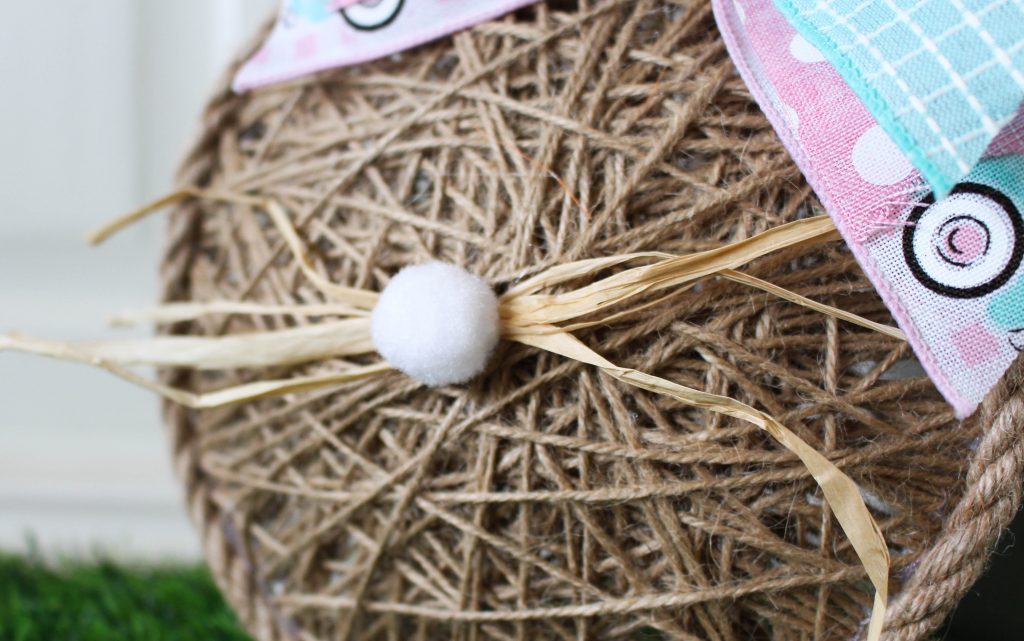
Of course I needed to add an adorable twitchy nose and whiskers! I hot glued a few strands of raffia crisscross onto the middle of the little bunny face. And added a pom pom to the whiskers to create the nose.
Finally I used some ribbons from USA to UK Wreaths on Etsy to create a bright colourful bow. With some orange thrown in there too to match the ears!

Can I just remind you of how this looked when we bought it? Versus now?
Here’s how it looked originally.

And here it is now ..

Would you believe this is the same bunny?
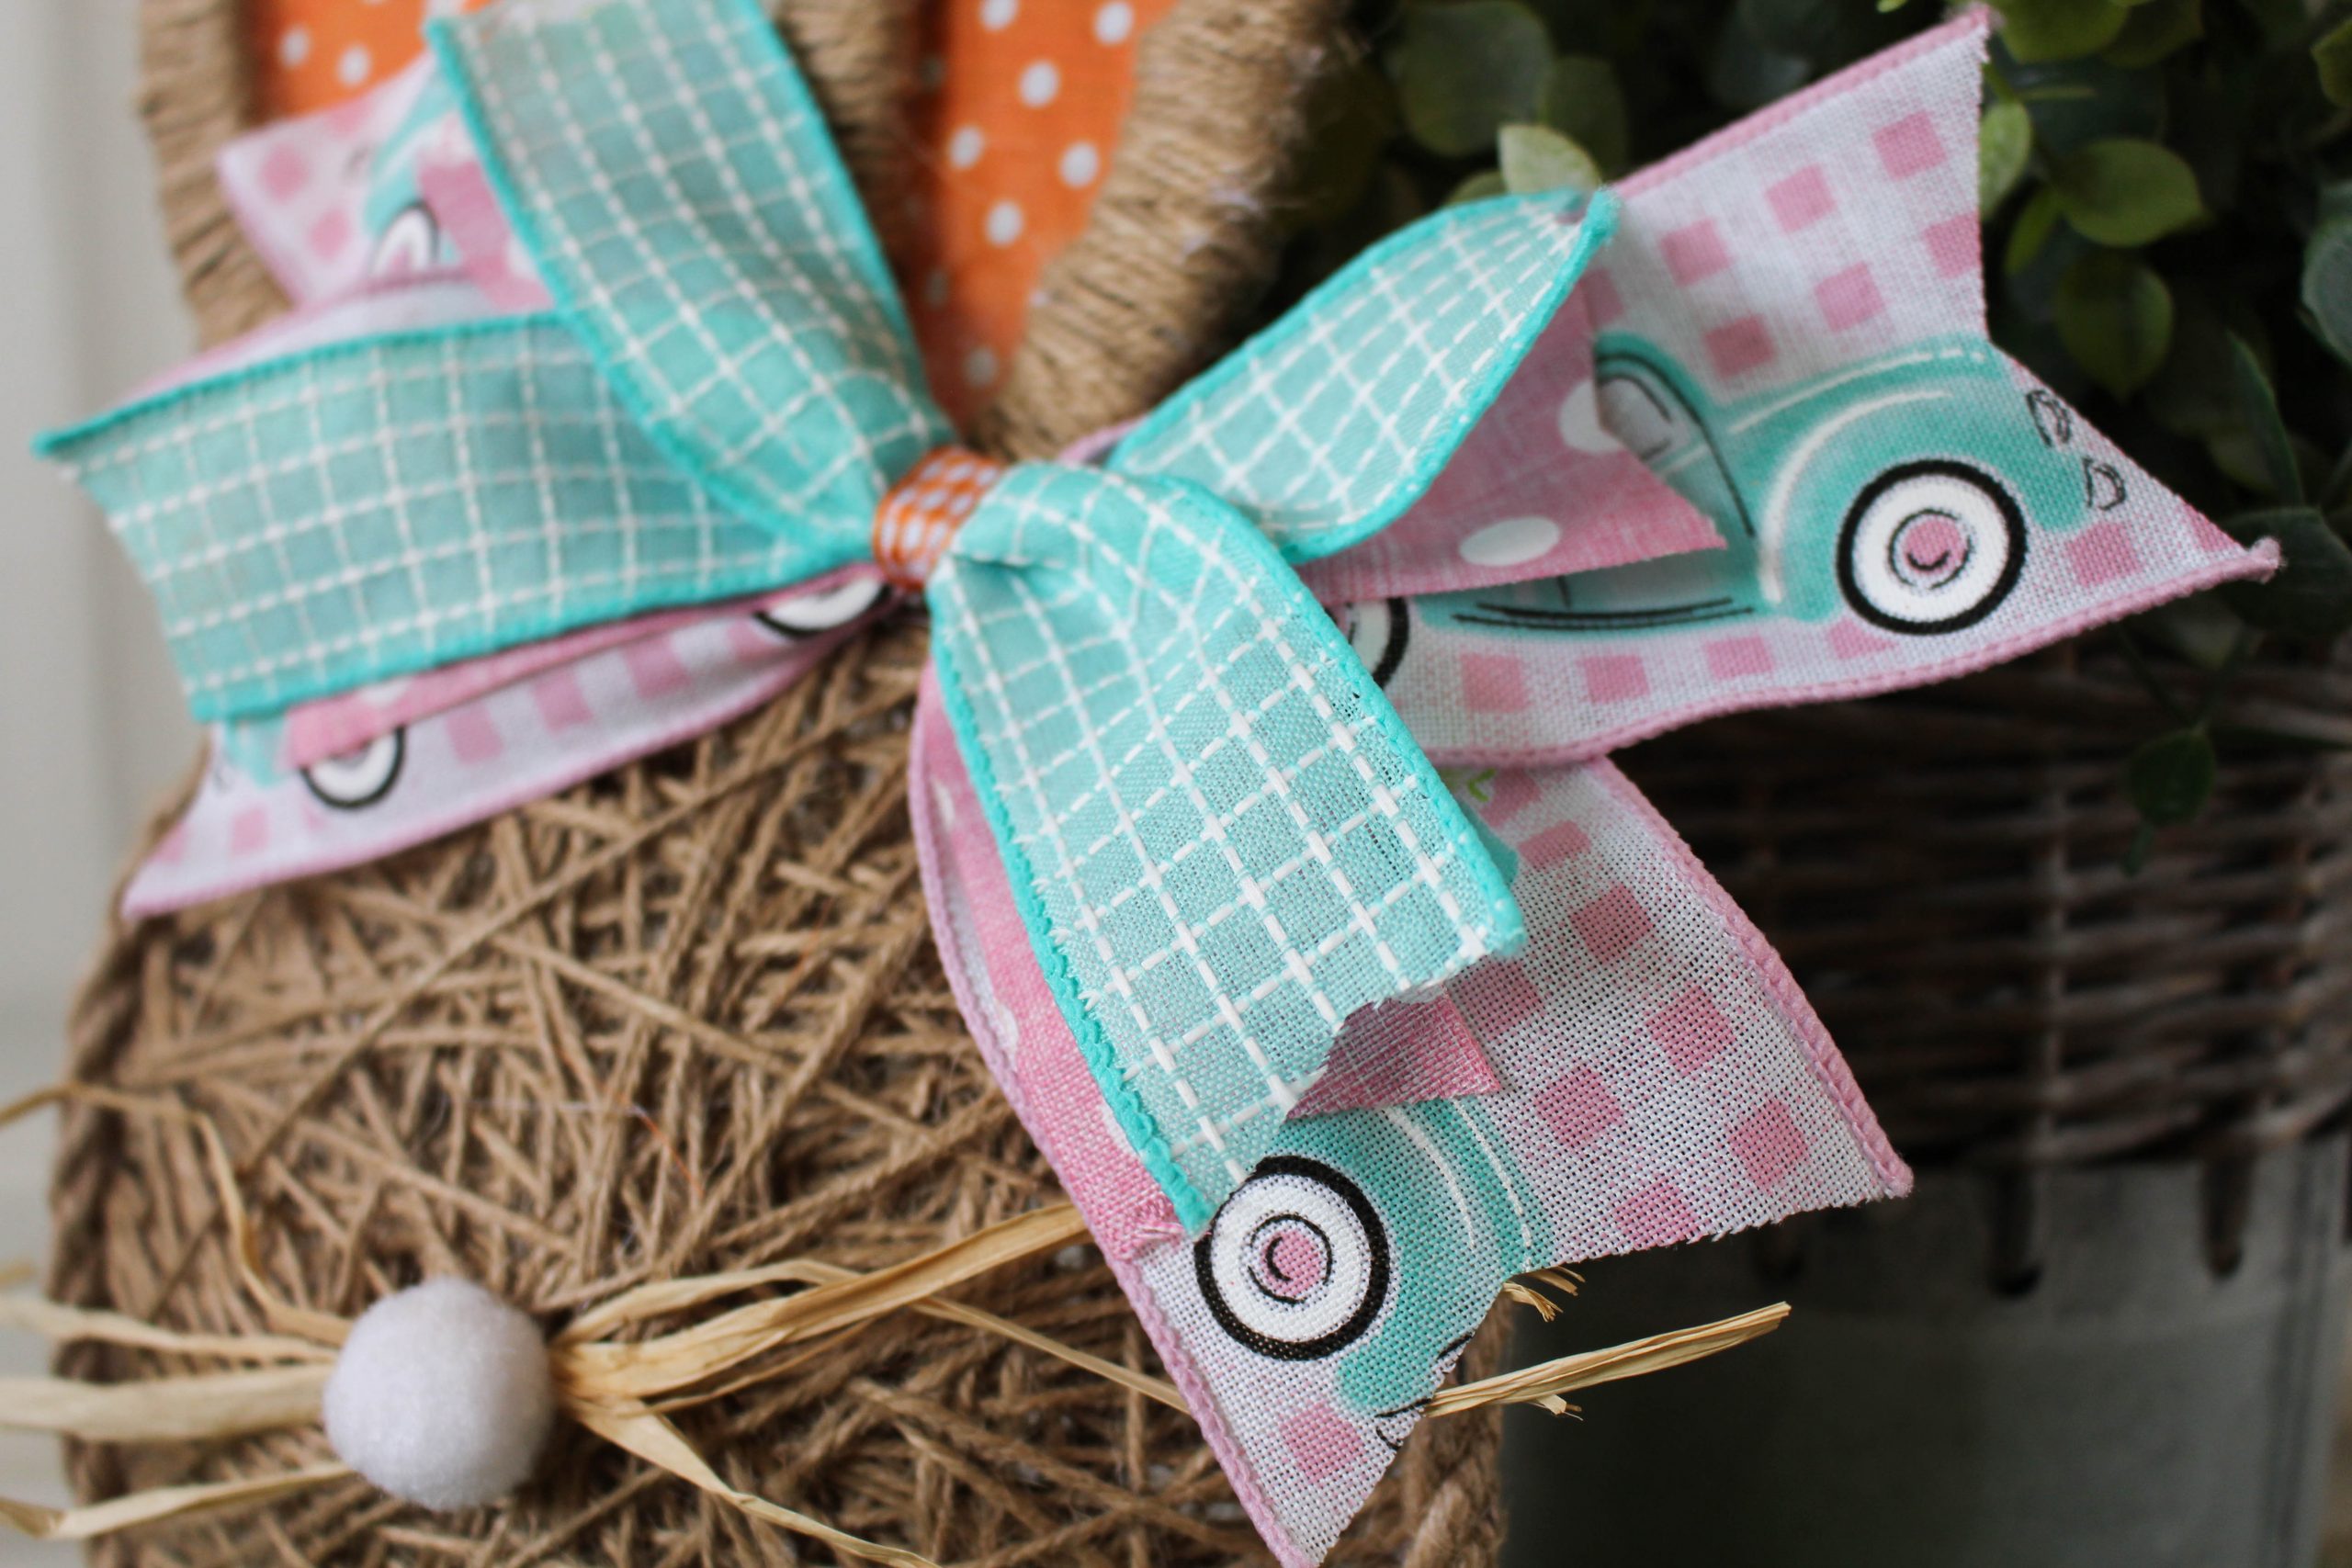
The bright spring colours contrast perfectly with the neutral bunny head.
And I love his twitchy nose 😉

This project took a bit of time, but is really simple to do!
Pin me for later!

While you’re here..
I think you will love these ideas too!


Follow me on Social Media!


I love how you did this, however i think the bow spoils it, i would of made the bow out of the rafia.
Brilliant job though xx
I appreciate your comment and that’s completely OK! That’s what I love about crafting – it’s so individual! Hopefully it’s given people an idea and they can completely make it their own. Thanks so much for leaving a message xx