I was having a clear out of my craft stuff. Well .. no, that’s a lie .. one does not CLEAR out their craft supplies! 😉 .. let’s say I was having a rummage in my craft supplies to see what I’ve got left to use. (Before ALL the shops open and I can go and get my hands on some more!!). And so these butterflies just kinda swarmed towards me. You may remember them from another project we did last year? You can find it here – it’s SO colourful!!
I hear a lot of people tell me .. “I’m no good at crafting”. “I can’t make what you can make”. And I’m here to tell you that you DEFINITELY can!! And these type of projects are THE best ones to just give a go. The easiest projects are often the most effective! So here’s that you need for this oh-so simple little butterfly wreath.
here’s what I used
I still had this mini wreath to hand – it’s about 24 cm diameter – you can find a similar one here.
Butterflies – I used these ones from Amazon
Hot Glue
And that’s it!! Apart from a ribbon or a piece of string to hang it up with.
Here’s how I made my butterfly wreath
To be honest with you, there’s not that much to tell. THAT’S how easy this it!!
I made this colourful little butterfly wreath on a Facebook Live, which you can check out here, so you can follow me along!
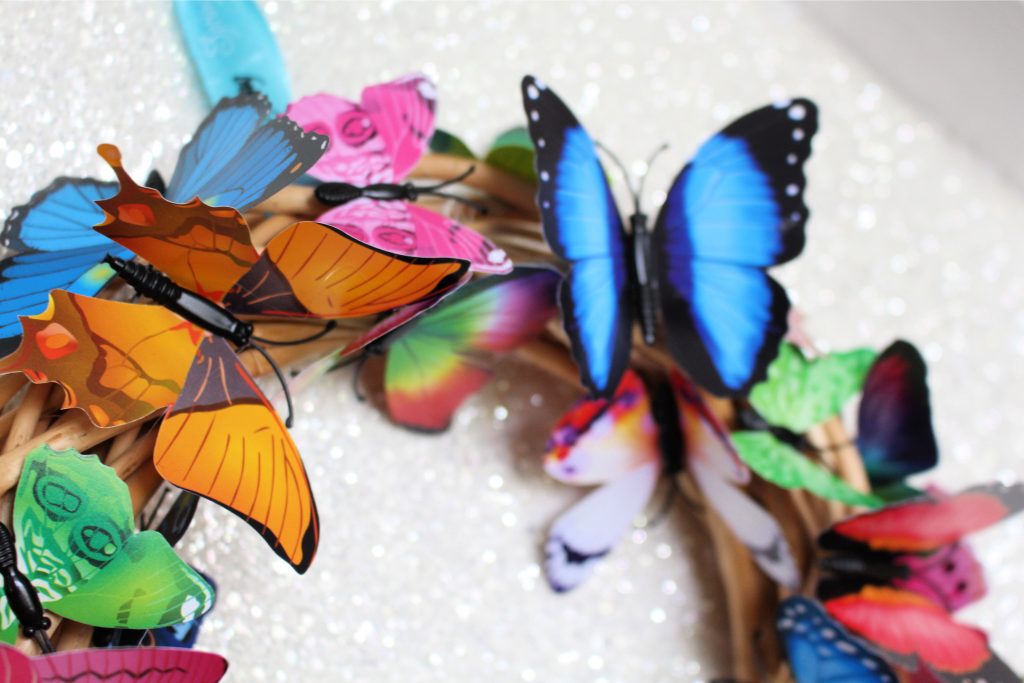
Basically, I got my butterflies .. Now come on .. How PRETTY are these??

.. and started gluing them to the wreath.
Just add a small amount of hot glue on the back of the butterflies and randomly glue them down.
You can see from the picture below that I took some of the medium sized butterflies and alternated them with some smaller ones to fill up the gaps.

Make sure to stick them down in different directions too – some facing one way and others the opposite.

And bend their little wings to add some 3D dimension!
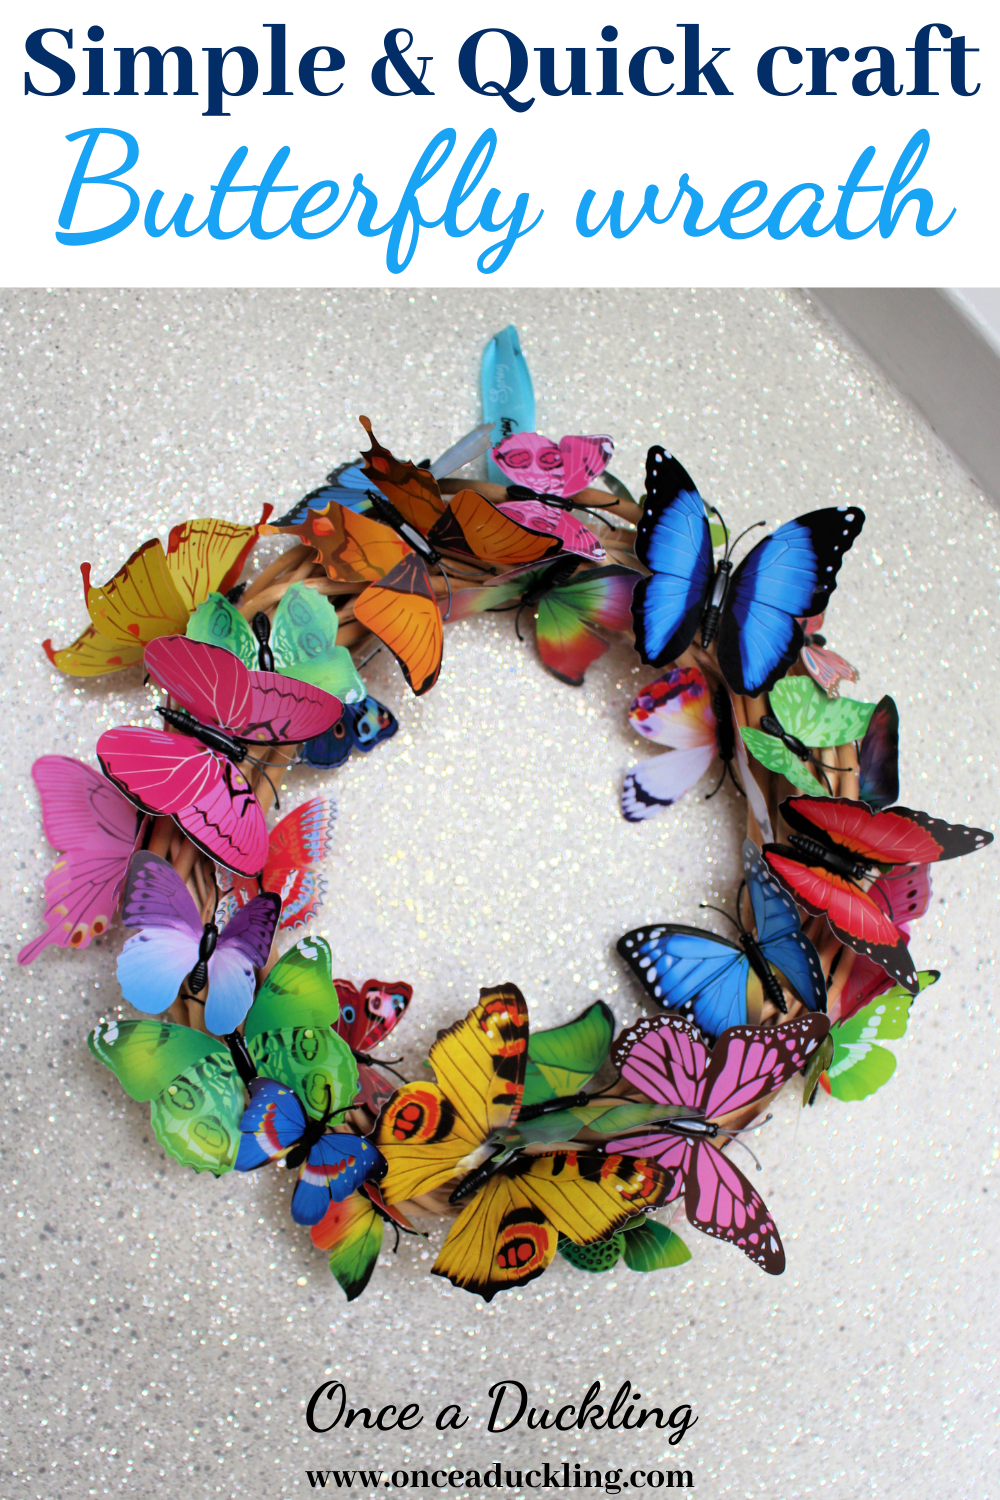
How colourful and gorgeous is this??
half an hour project!
It took me about half an hour on my Live to make (but that was only because I was chatting away!!). It’s a very simple and quick project to inject a bit of colour into your home!

I don’t actually mind the wreath showing through slightly, but would probably have filled up the gaps with some of the smaller butterflies if I had any left over (I had used up quite a few of the smaller butterflies on the other project I did with these!).
Alternatively, you can add some spring flowers or a bit of greenery if you want.

Could you Pin me for later?
Some of the links in this post may be affiliate links, which means I earn a small commission if you decide to use my link to purchase something (at no extra cost to you!). This will allow me to continue to share great ideas and projects with you guys, so I would be grateful if you did!
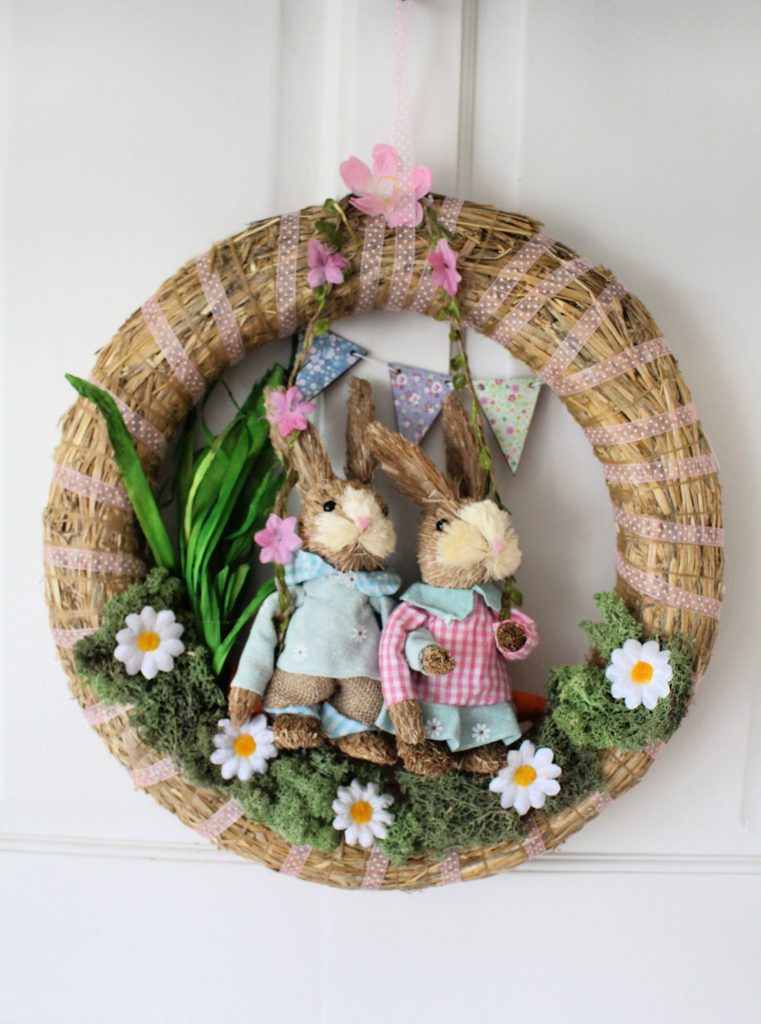
Check out these easy wreaths too!


Follow me on Social Media!

Leave a Reply