If you’re a newbie here, you may not know that I do a Live craft session on Facebook every week? If you’ve not checked it out, you may want to so here (and maybe give my page a “like” while you’re there? – I’d really appreciate it!). Aaaanyway .. I recently asked the question “what do you guys want to see?” And one of the ladies suggested a rainbow craft.
I loved that suggestion! Because we can ALL do with some colour in our life at the moment! And who doesn’t like a beautiful butterfly? (Well .. actually, my daughter gets freaked out by them, but that’s a whole different story! 😉
As I made this rainbow craft one on a Live there are not many progress photos. But hopefully it speaks for itself! I bought these colourful rainbow butterflies on Amazon in a sale. But even at full price, there are 72 in the pack so you get loads for your money! They’re fitted with little magnets, but I just used hot glue to glue them down. And I had plenty left over to do this butterfly wreath craft too!
using a frame for your rainbow craft
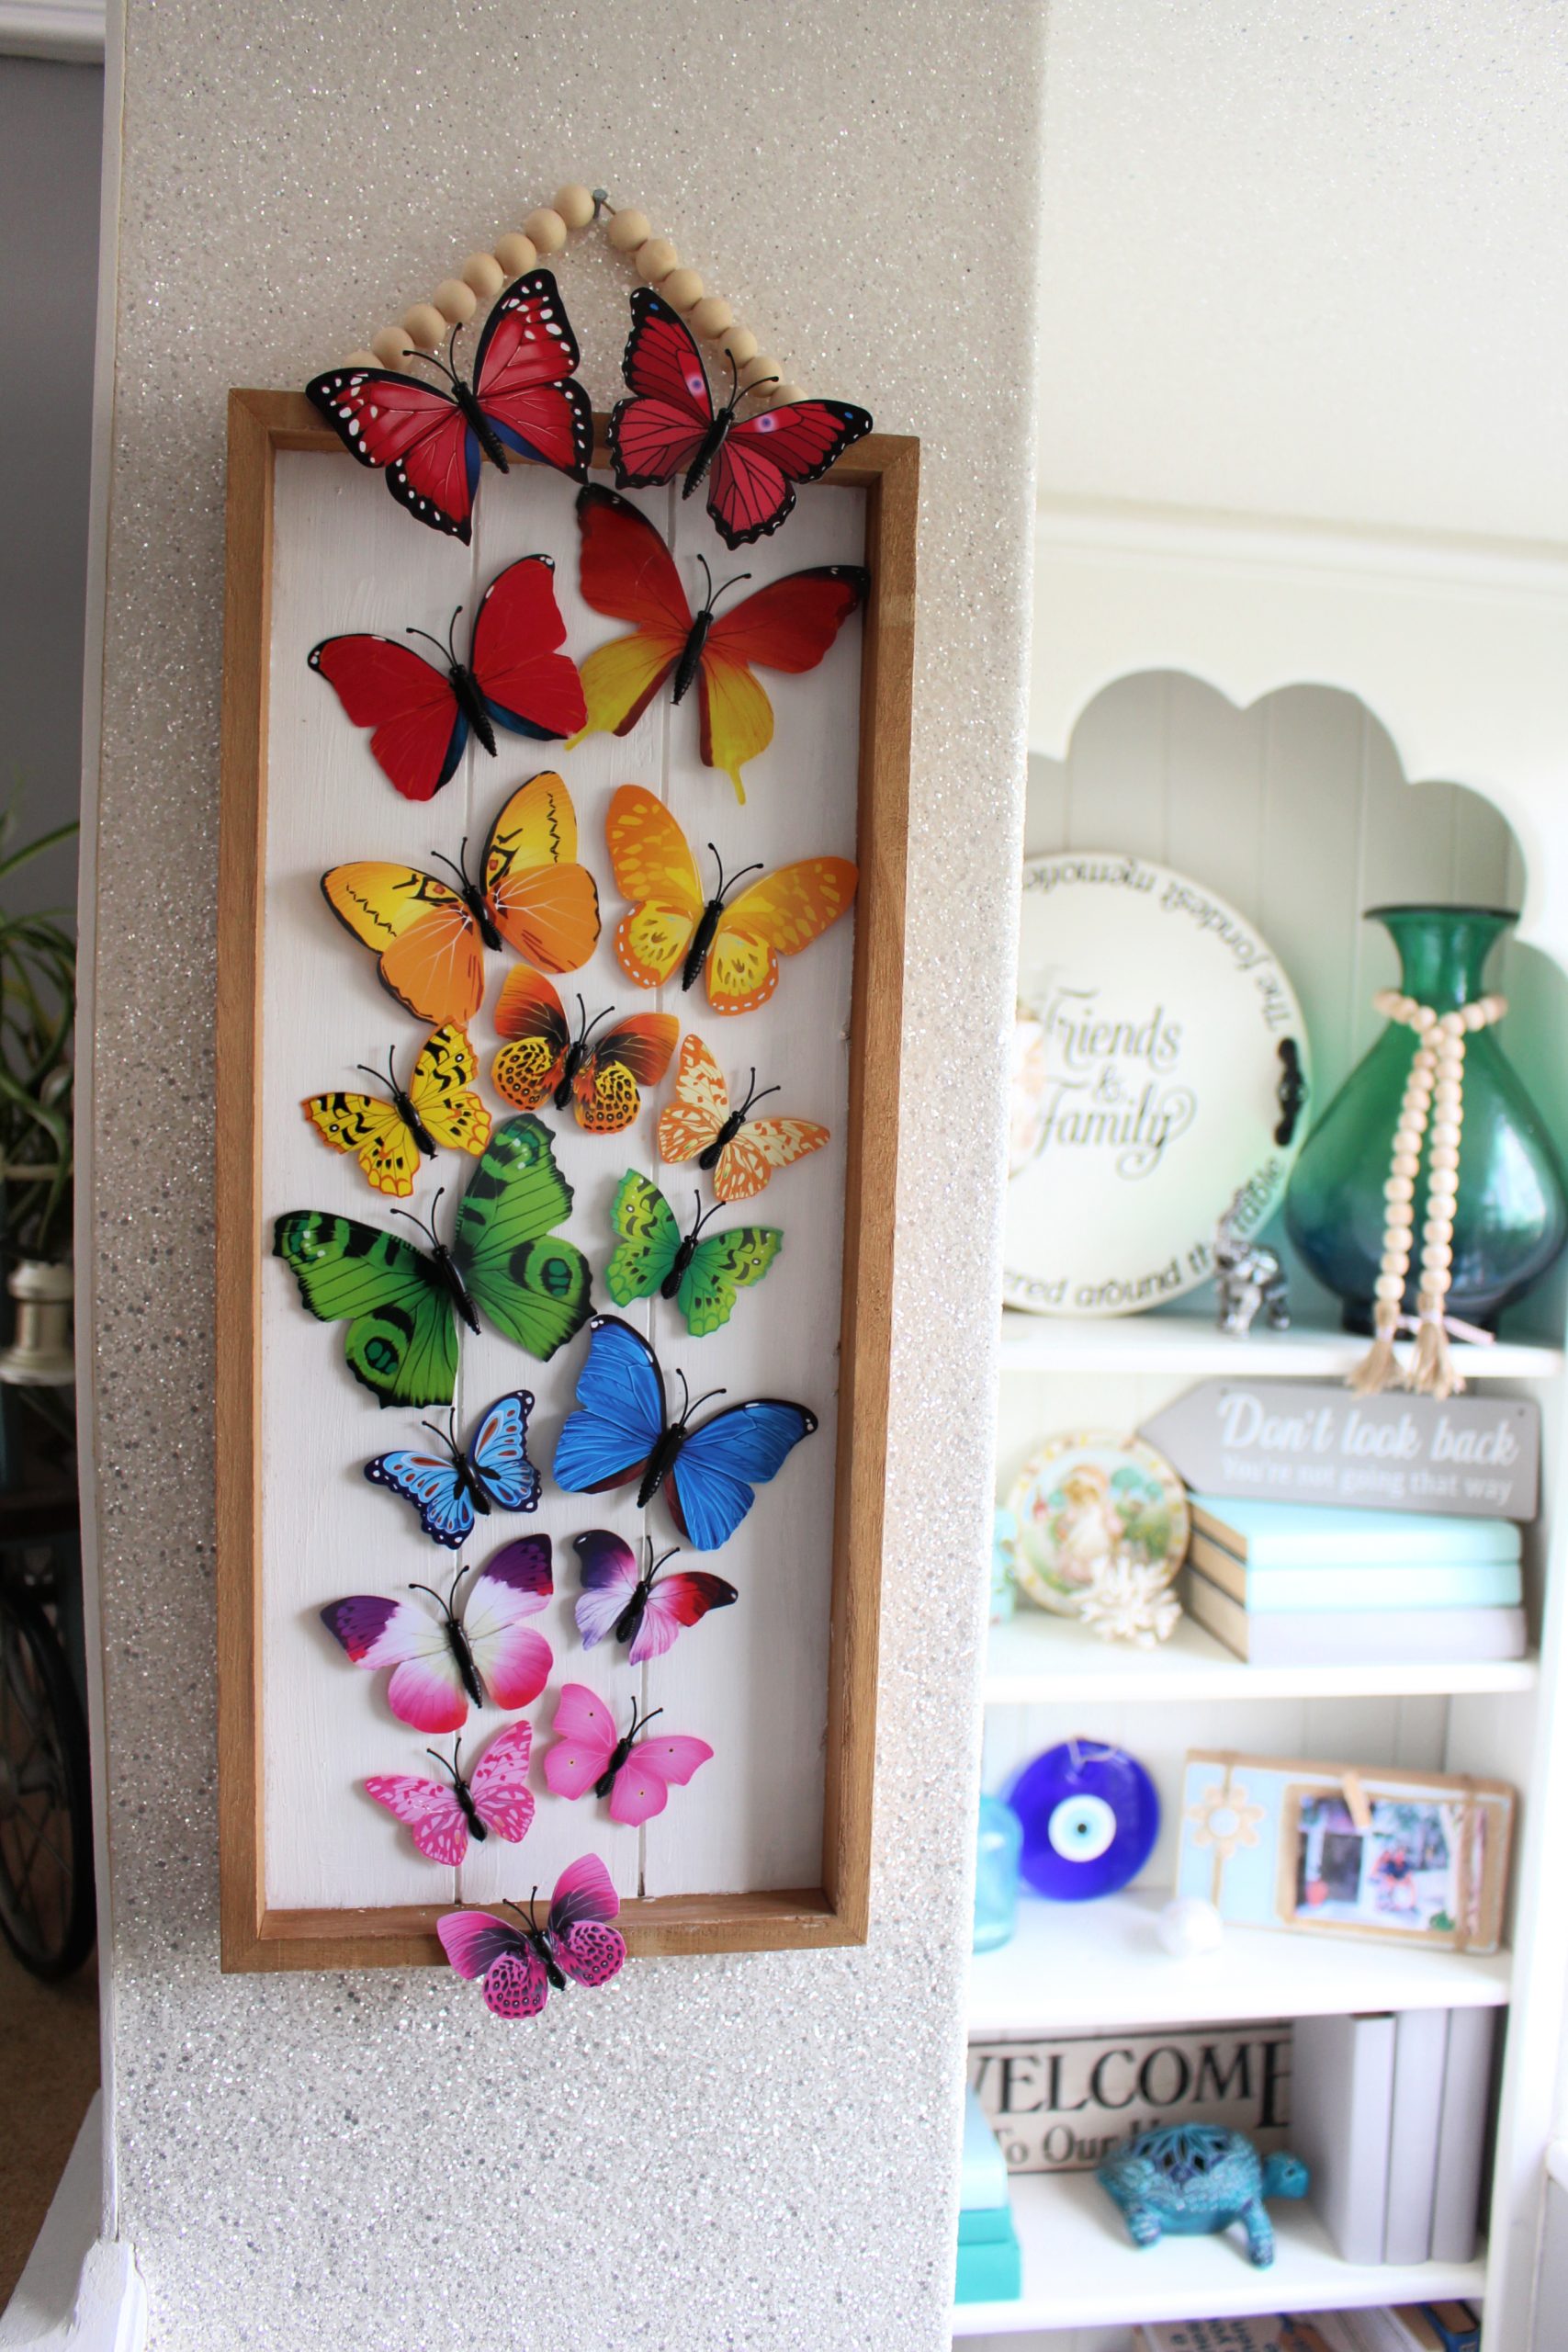
Next, I used this “Squeeze the day” frame from The Range which was in the sale for £2.99. It looked super-cute as it is but it was the perfect size for this particular rainbow craft. I had a bit of a play with the butterflies to see what design would look good. I assorted some bigger and smaller ones and just randomly placed them on the frame. Just to get an idea of how I wanted to glue them down.

I actually stuck them on our fridge for “safe keeping” with their little magnets before my Live. How colourful do they look?? I’ve still got loads left over so may well have to create another display, just for our fridge 🙂

I wanted to cover up the writing on the picture. Nothing complicated guys! – I just gave it two layers of white acrylic paint to cover up the lemons and the writing.


And then the rest was done during the Live – I just glued the butterflies on to create this gorgeous colourful display.
If the frame had been a little bit bigger I would have tried to add a small jar at the bottom and have the butterflies “fly” out of the jar. But, I didn’t want to crowd things.
And so I think it looks beautiful just as it is. Here’s a close up of the detail. So pretty!!

And of course this would work also great with a butterfly punch in different sizes and some coloured paper. You can keep the (grand)kids busy and get them on board with colouring in their own.
add a hanger
I found the perfect place to hang the picture, but because I changed it from landscape to portrait, the existing fittings no longer worked! So I quickly added my own. With some wooden beads and some string. I hot glued it to the back, securing it with a popsicle stick – like this:


Wrap some cellotape around the end for easy threading 

Secure to the back with hot glue 
And some popsicle sticks to keep in place 
Here’s how it looks on the frame.

It’s really added some colour to our hall way.

You know the bookcase? It had quite a transformation! … you can check out the before and after in the blog post here.
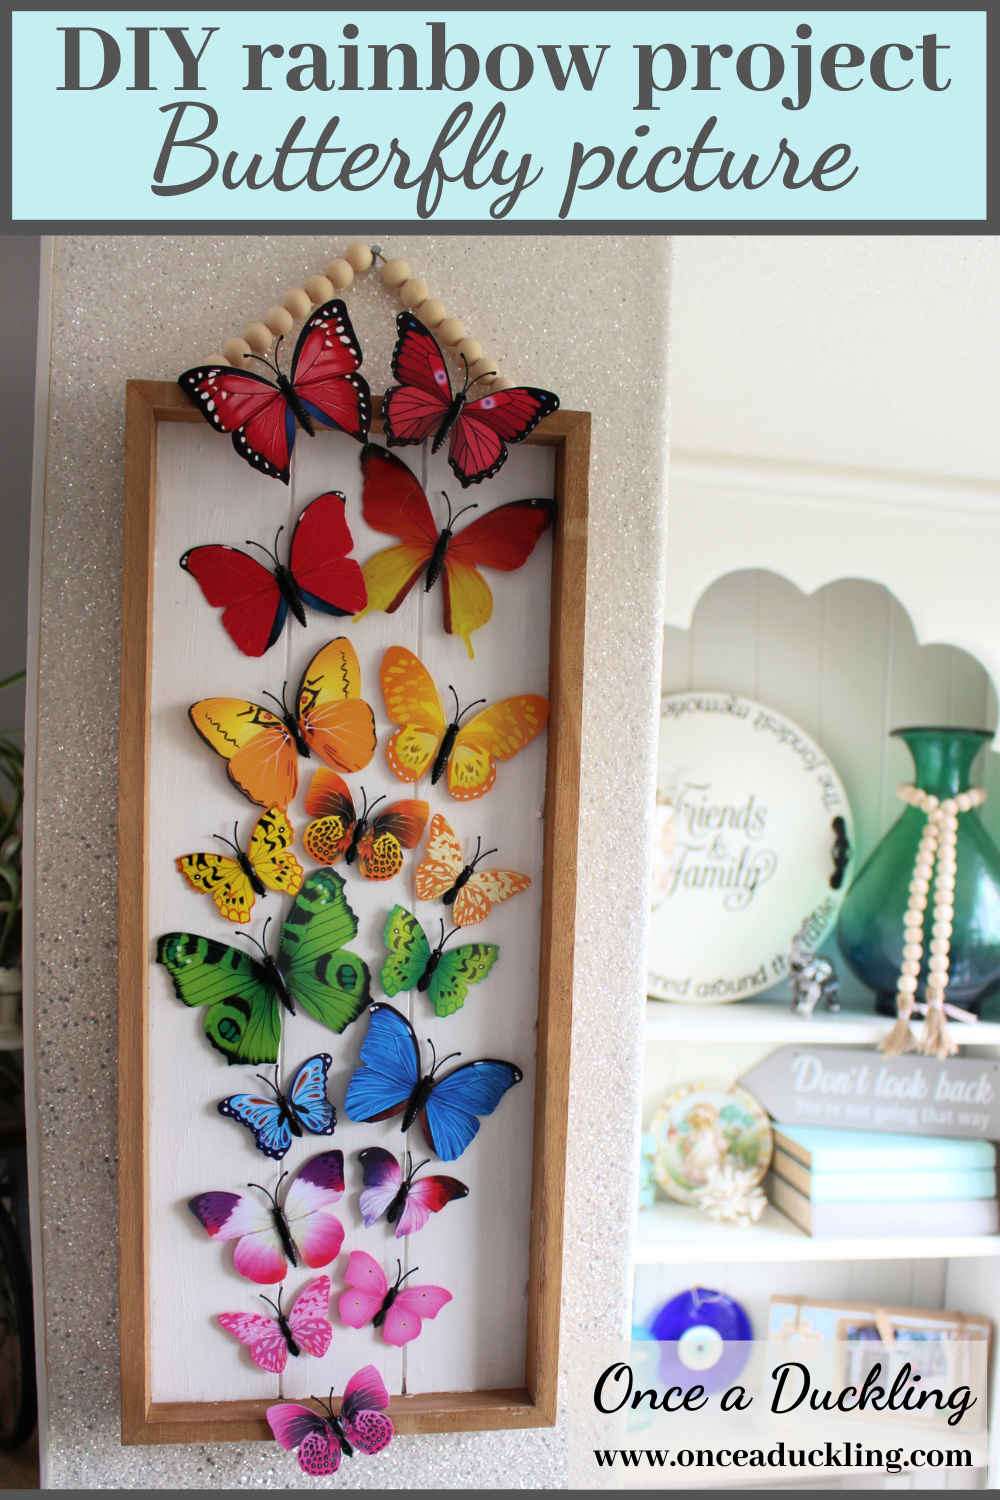
Pin me for later!!
Some of the links in this post are affiliate links, which means I earn a small commission if you decide to use my links to purchase something (at absolutely no extra cost to you!). This will allow me to continue to share great ideas and projects with you, so I am very grateful for your support!
Check out these projects too!


Follow me on Social Media!
Leave a Reply