It’s no secret that I absolutely LOVE The Range (I’m not kidding you, I’m really missing my weekly (well, at least once a week!) visit. Thanks Corona! Anyway, I bought this freestanding Easter Bunny from them a few weeks ago.
This little fellow or lady only cost me about £2. Of course there is absolutely NOTHING wrong with it, but it’s looking a bit shop bought and, well, .. bland. You know by now that I neeeeed colour in my life! And so I use lots of it in my projects. And one of the easiest ways to introduce some colour and finish something off is by adding a simple bow. Which is exactly that this bunny was shouting out to me .. can you hear it too??

If you didn’t catch my Facebook Live, you can catch it here to find out how it went from shop bought to a bit more “home-made”.
here’s what you need for your “home made” bunny
- I used the Bunny I bought. But of course you can trace your own and use some MDF or wood to cut it out. Alternatively, Ebay have one quite similar here (as long as stock lasts).
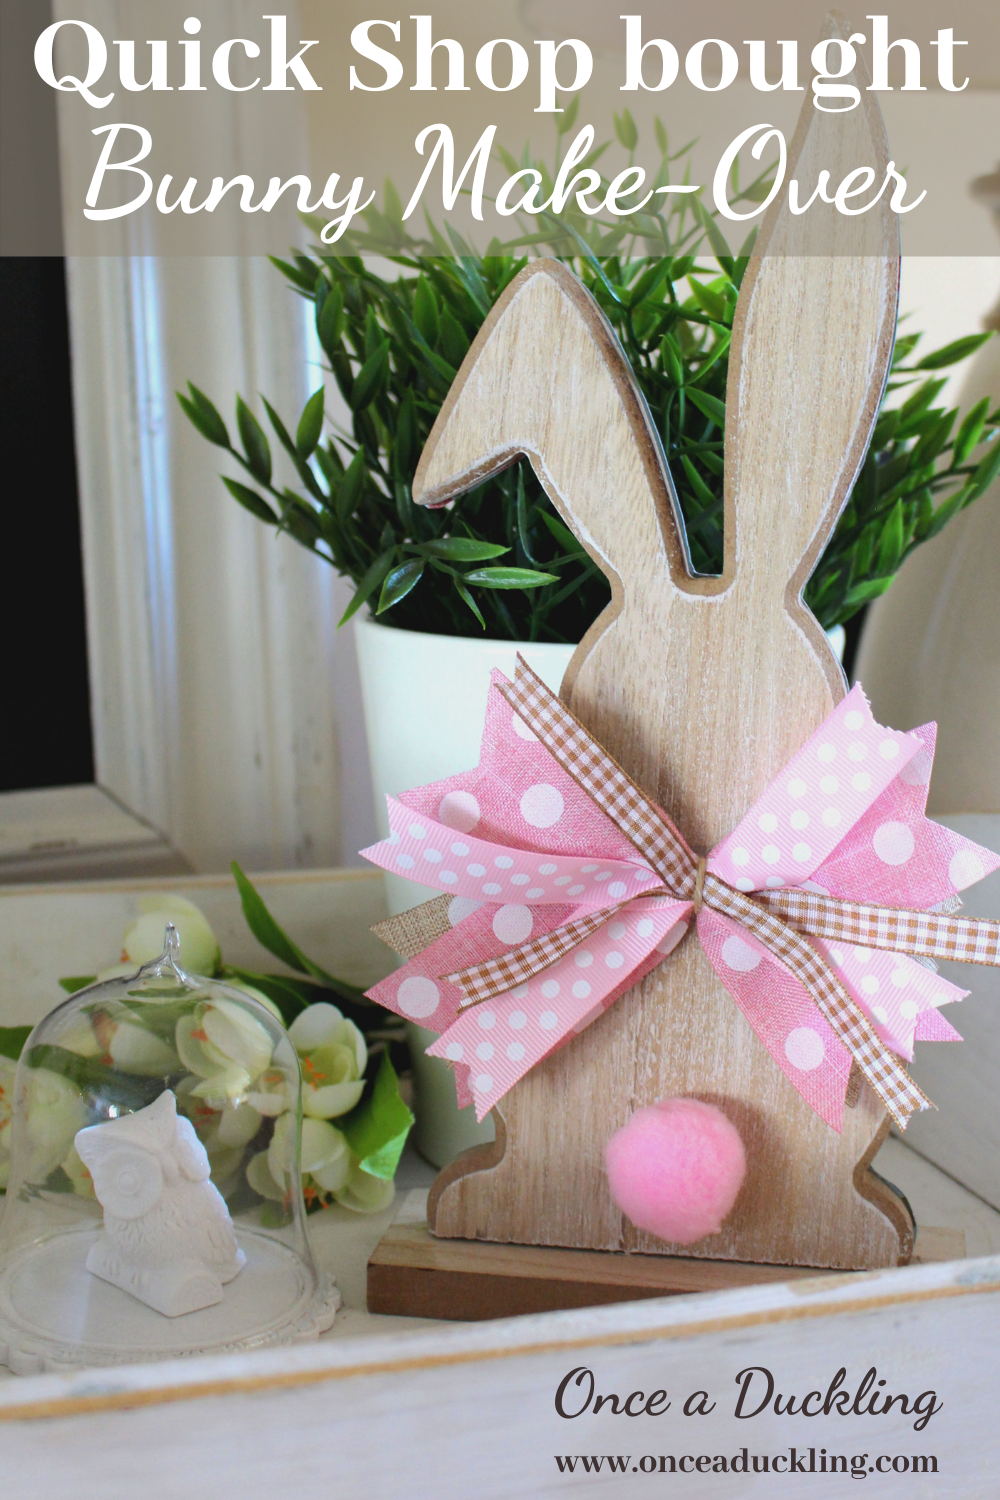
- Ribbon – lots of pieces of ribbon in different widths and textures. I used 8 pieces in total. Each length is about 5.5 inches.
- Glue gun
- A bright coloured pom pom. If you don’t have any to hand, or don’t want to buy a load, you can totally use a coloured cotton wool balls instead.
- Some scissors. If you are looking for some great craft scissors, you will love these! I got them as a Christmas present and trust me when I say they are A-MA-ZING!
The Easter Bunny is the perfect template for this quick and easy project. See the small flower on the bunny? Well .. that’s gotta go!! I peeled (.. OK, ripped..) off the small flower on the Easter Bunny to make way for a big colourful bow.
making the perfect bow
Making a messy bow is just THE easiest to do – seriously, anyone can do this! Check out this quick video below for exactly how easy this one is to make.
Messy bows really are perfect to add to any project, or on top of a sign or even a present. If you look around on my blog you will see that I use them a lot in loads of different colours.

That only left the little bunny tail to be replaced by a larger pom pom for a more colourful tushy :).

optional reversible bunny
You will see from my Facebook Live that I also covered the back of the bunny with some colourful patterned cardstock. So, now it’s reversible, depending on what mood you’re in.
Simply trace the bunny onto your cardstock of choice and stick it down with some Mod Podge. That’s it!

Let me know what you think? Just a few simple steps to turning something shop bought into something that totally fits in with your home decor and Spring decorations.
Why not have a go at making the bow? Once you’ve done it, you’ll probably never make a bow in another way again 🙂
You may recall in my Facebook Live that I said I would think of a way to make your own bunny without buying one? Well, check out how you can do this project with a cereal box and some craft paper here.
Please would you Pin me for later?
Some of the links in this post are affiliate links, which means I earn a small commission if you decide to use my links to purchase something (at absolutely no extra cost to you!). This will allow me to continue to share great ideas and projects with you, so am very grateful for your support!
Are you following me on Social Media yet?
Leave a Reply