Our hallway has seen MANY different looks since we moved into our home about 27 years ago. (Has it really been THAT long? .. I feel old now!! 🙂 ). And some of the looks were real “what the heck were we thinking?” kinda moments .. I mean, you only have to look at some of the pictures I dug out! In our defense, the photos are dark and grainy because well, .. we’re old enough to remember well before digital cameras and iphones.
Are you ready for a throw back? Forgive the horrible quality!
This is what the hallway looked like when we first moved in. (By choice, I hate to admit 😉 ) What can I say? We were young and had very little money so we were working with what we had 🙂


I know!! See what I mean about “what were we thinking??” .. and that’s just the hair!!
Our hallway had a few different “looks” in the mean time, but below was the most recent one (2020). It was a LOT brighter, but in desperate need of a make-over. Sure, the shoe cupboard from Ikea served us proud but it was hanging on for dear life after many years of (ab)use!


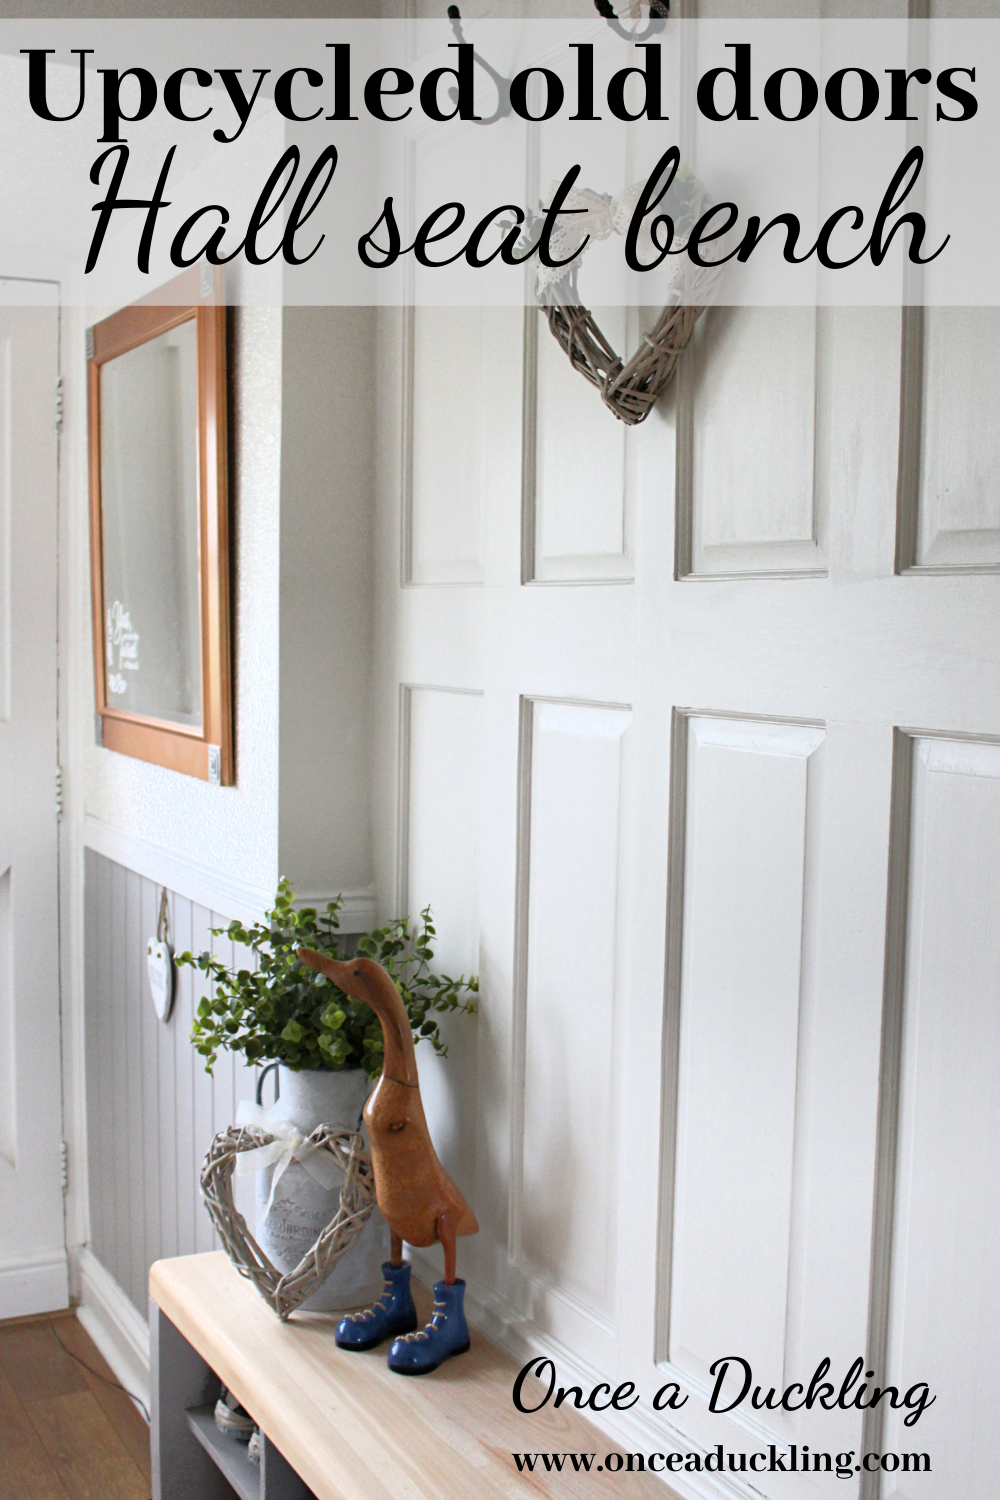
I loved the idea of a hall seat as part of our make-over. So when we saw two old doors (for £10 for the both!) I just knew they would be perfect for the job. I’m sure my husband thought I’d lost the plot but he rolled with the punches, bless him.
adding the backdrop for our hall seat
The doors were sanded down and a thin slice of wood was taken off the sides to make them fit the length and width of the wall. We secured them with some screws as the backdrop and filled in the holes. All ready for painting.


The shelves of the bench were made one of an old computer cupboard that we used to have in our lounge. And the sides of the hall seat were offcuts from our kitchen breakfast bar. Sometimes it pays to hold onto stuff! We (well, Rob ..) sawed the wood into the correct size and sanded it before putting it together as shelving to still give us that all important shoe storage. I mean, what would ANYONE do without shoe storage??!

The top of the bench is a piece of wood that also came from our local tip. (We do get some of our stuff in other places than the tip, I promise!) A local carpenter had been trying to sell the wood. He had not been getting any buyers and he now just wanted to get rid of it. Talk about right place, right time!
We sanded the wood and used a router to get this lovely edge and it’s now looking perfect in our hallway.

after painting and wallpaper update
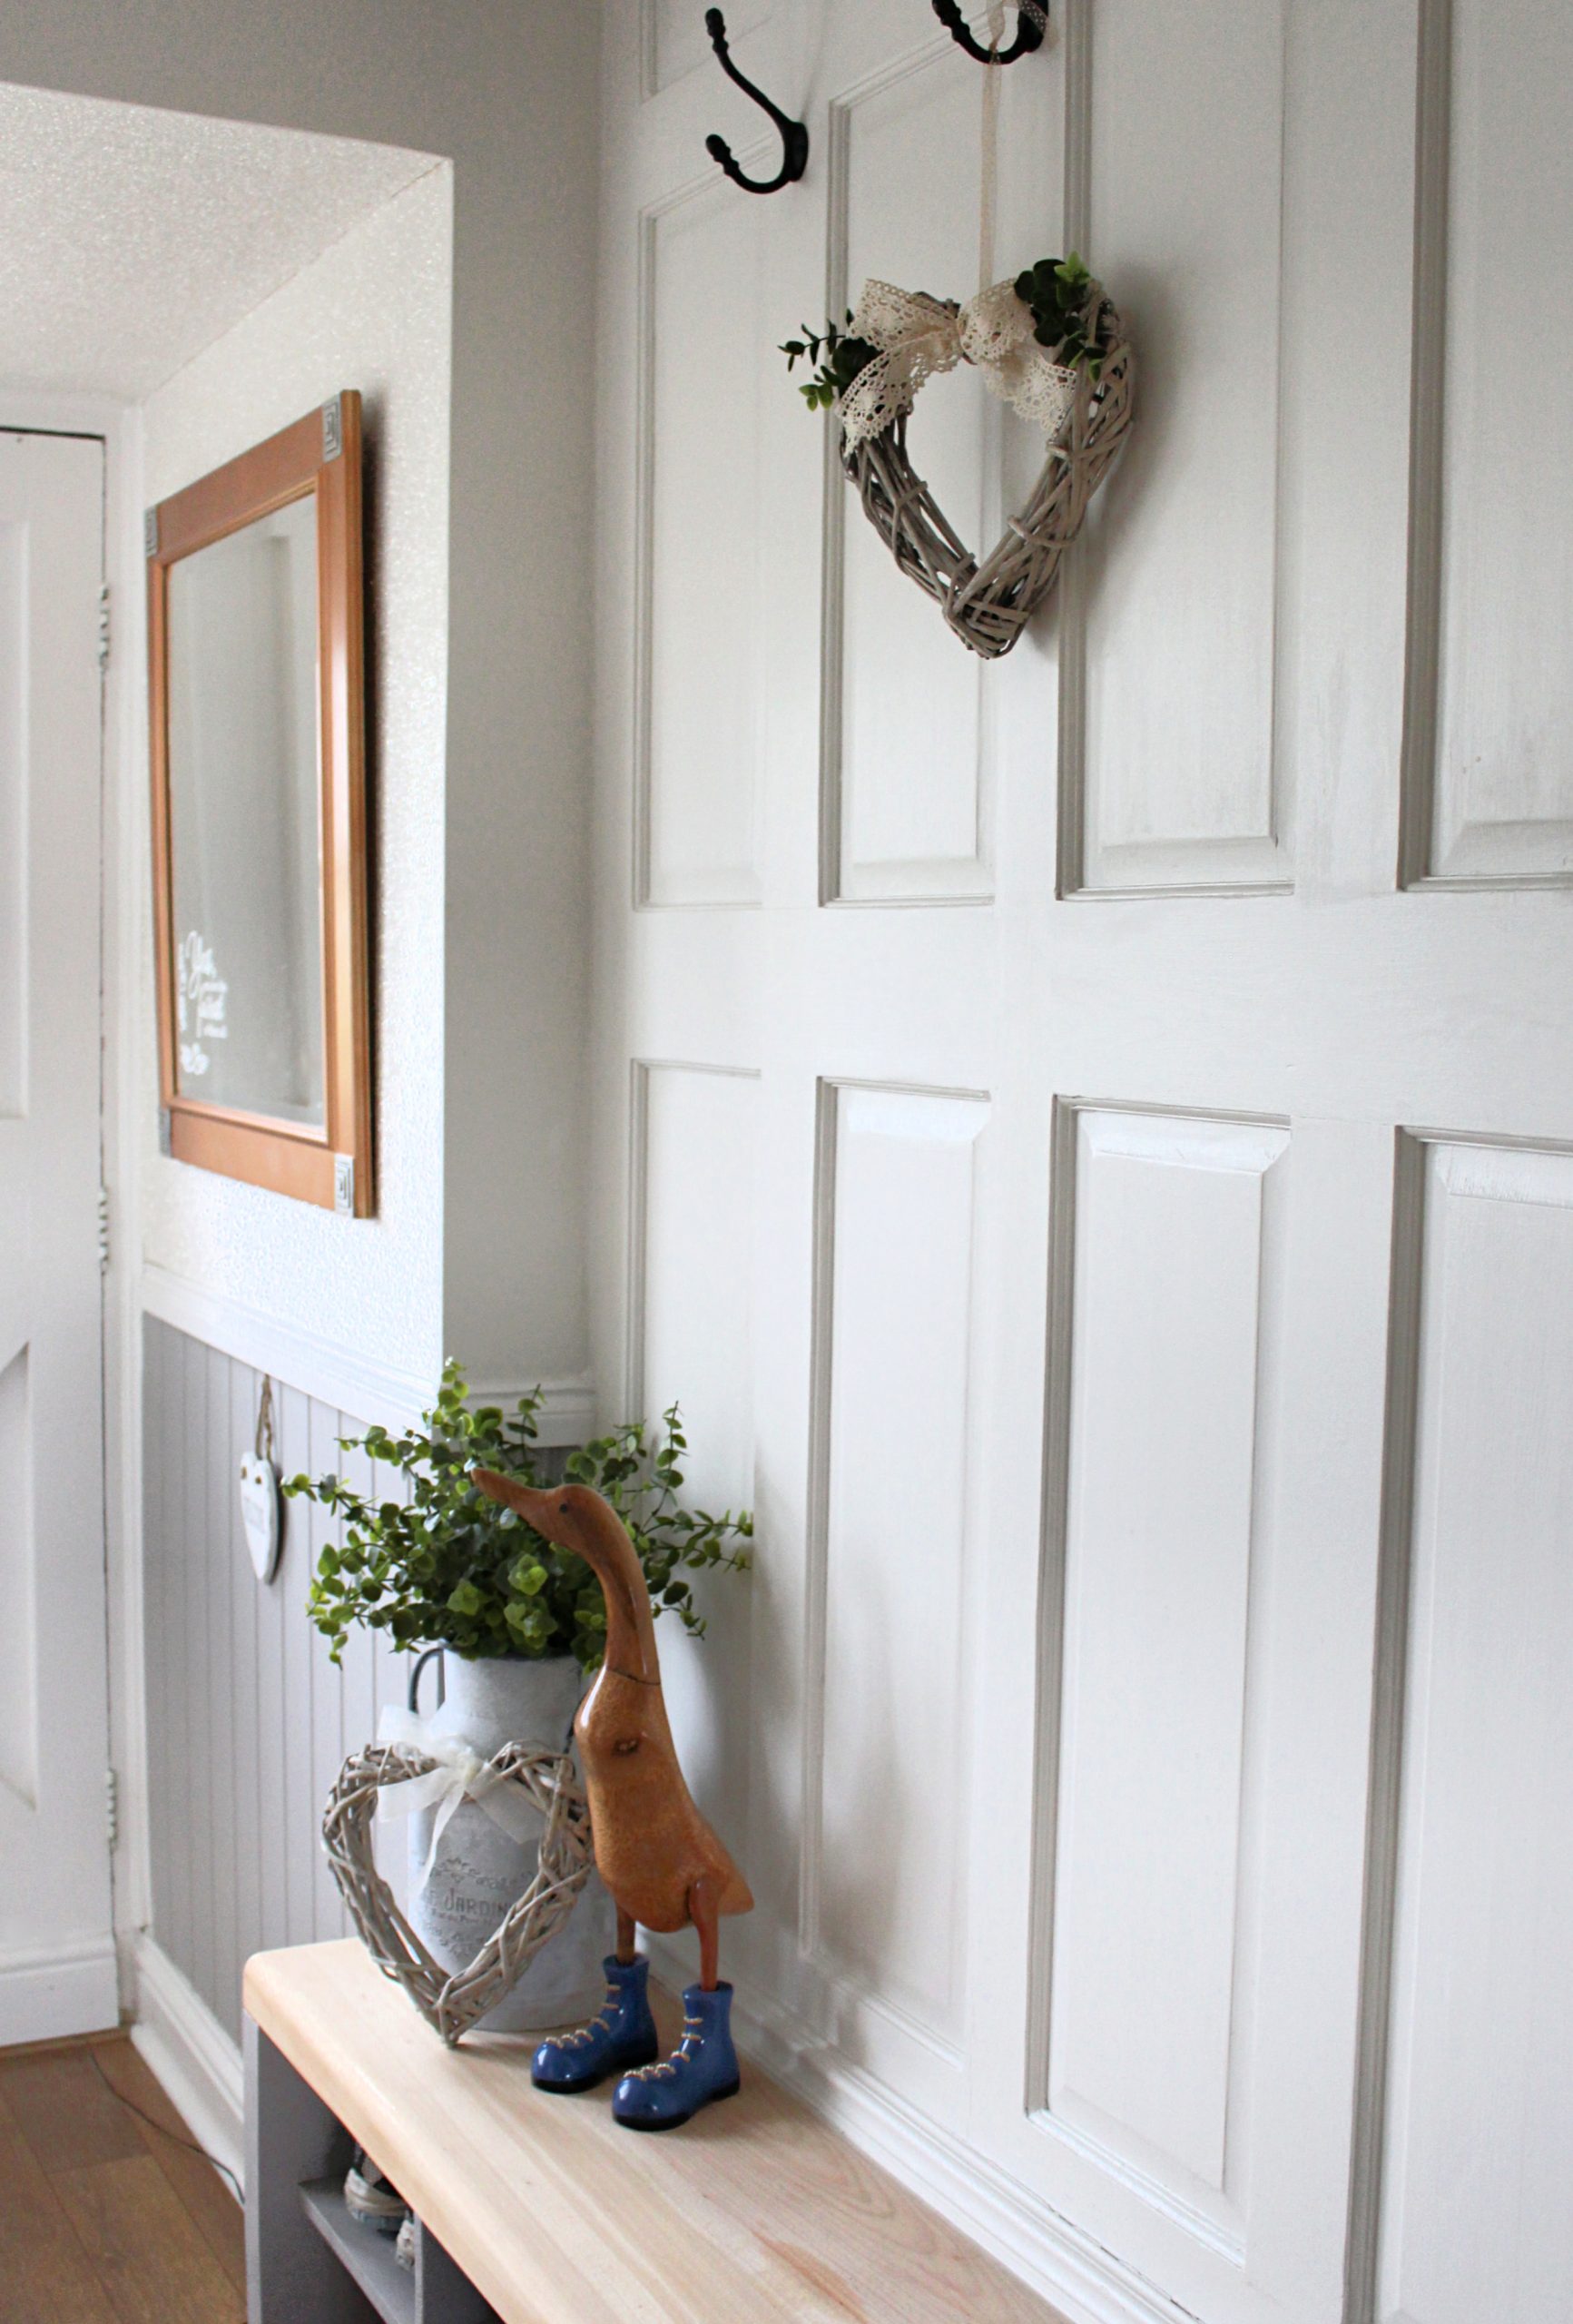
And this is the after paint and glitter wallpaper update … I absolutely love how it looks now and think this will stand the test of time. It’s traditional but with a modern feel to it too. And it has really opened up the hallway.

Our hallway is quite narrow and doesn’t let in a massive amount of light. I know glitter wallpaper won’t be everyone’s choice, BUT it really reflects the small amount of light that comes in and makes it feel so much lighter and brighter.

I still need to varnish the seat (especially since someone left their drink on the top .. ), but let’s just call it work in progress 🙂
Can you believe that’s the same hallway?
let’s add some glitter
You can really see the glitter paper in the photo below.
I’ve had lots of questions about our wallpaper. We used a “glam” range from Glitter Bug Wallpaper. You can find our exact one here. It’s more expensive than your regular “off the roll” wallpaper, BUT downstairs we only used the wallpaper in relatively smaller areas to add some interest. In larger areas (such as going up the stairs) we combined it with colour matched paint to keep the cost down which I think has worked very well.

And here’s a closer look at the mirror which was salvaged from the original hallway. It’s had a complete make-over of its’ own, which you can check out here.

Could you Pin me please?
Follow me on Social Media!
Leave a Reply