I’ve been eying up a little bee skep for a while now (I’ll be honest, I didn’t know they were called that! I just knew they were super-cute!). And when I was having a clear out and found an old plant pot, it was THE perfect size and shape to give this project a go!
I’m so pleased with how it’s turned out. And it’s super-simple to make. Can you glue? You’ve got this!! Here’s how I made mine.
What I used for my bee skep
An old plant pot – I used a ceramic one that was dome shaped, approx 11 cm high and 14 cm in diameter
Rope – I used 10 mm diameter rope. I got mine in B&Q and paid about £7 for 10 metres
Hot glue – you’re going to need quite a bit of it!
Black acrylic paint
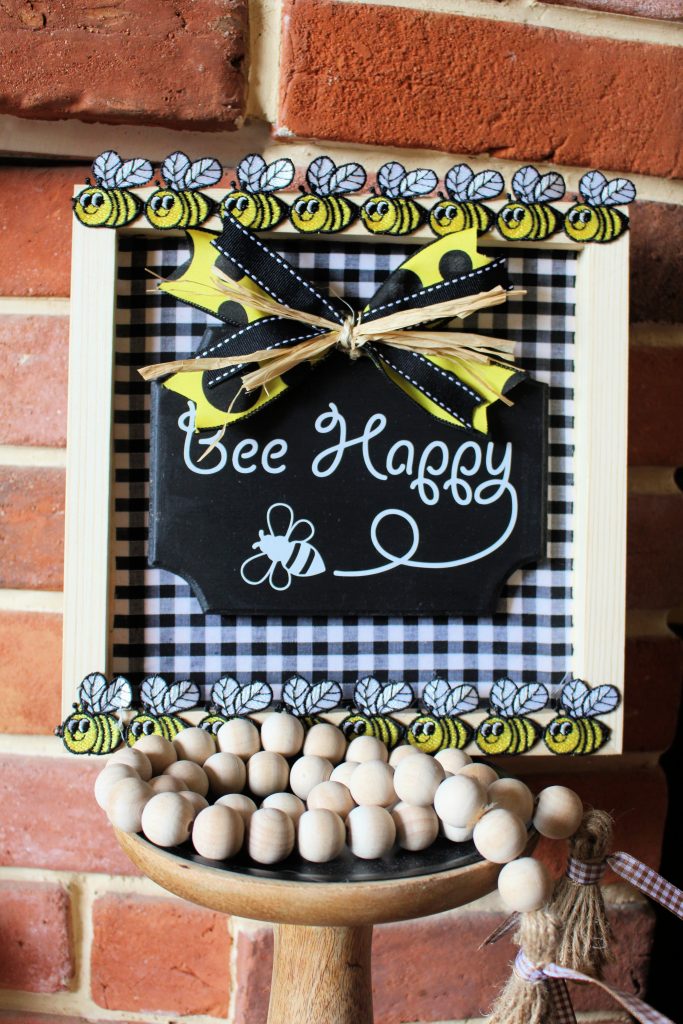
Bee ribbon – from the gorgeous USATOUKWREATHS on Etsy
Bee trim – I got mine from Hobbycraft but they do the exact same one on Ebay here

how to make your skep
Actually, I made this one on a Facebook Live so I don’t have any progress photos but it’s so simple you really won’t need it! Want to craft along? You can check out how I made it, beginning to end, on Facebook by clicking the link here. Maybe give my page a “follow” while you’re there? I’d love to have you as part of my community!
Start by turning your pot upside down so the bottom is up. Find the end of the rope and hot glue it to the bottom of your pot (what is now the bottom since you’ve turned it upside down). Basically you are starting at the bottom of the hive and working your way up as you go along.
Continue to add hot glue and wrap the rope around the pot, hot gluing it down in sections as you go along.
creating the loop at the top
When you nearly reach the top of the pot, cut off a small amount of rope from the end and create a loop. You hot glue this straight onto the top of the pot to create the loop. I took a “still” picture from my Live (so apologies for the quality and the funny face .. no filters here guys! 😉 ) It’s just to give you an idea of what I mean with the loop.

Continue gluing the rest of the rope all the way up to the top. When you get to the stage where you can no longer glue it to the pot, continue to hot glue it to the inside of the rope until the circle is pretty much closed. You’re looking for that dome shape. Here’s another still picture from my video so you can see the top as it’s narrowing.

Once you’ve created your dome, cut off a small piece of rope to create a circle. This will be your opening. Don’t glue it down just yet! With a Sharpie trace the circle and fill this in with some black acrylic paint to give the illusion of a little opening. Once you’ve finished with the black paint, hot glue the piece of rope in a circle around it. Here’s a real good close look at how it should look:

I hot glued the little bee onto the join of the rope, just hiding any imperfections!
finishing touches
To finish off my bee skep I used some bee themed ribbons. I absolutely adore these and they tie the whole theme together perfectly! I just created a messy bow and hot glued a single daisy in the middle.

And the little bees from the trim just finish the whole skep off perfectly!


Enjoyed this craft? Would you Pin me?

Some of the links in this post may be affiliate links, which means I earn a small commission if you decide to use my link to purchase something (at no extra cost to you!). This will allow me to continue to share great ideas and projects with you guys, so I would be grateful if you did!
Make sure to check out these cute projects too!

Follow me on Social Media!
Leave a Reply