I’m not normally one for lots of Halloween decorations, but something tels me this year is going to be different! We’re having a Halloween party with some friends, which gives me the PERFECT excuse to get creative with some spooky projects to share with you all.
And to kick things off, we’re keeping it nice and simple with this basic Trick or Treat sign!

I didn’t want to go too crazy with this because anything too manic will take away from the writing. But I did want to put my own stamp on it. So here it is:
what you need for this Trick or Treat project
Plain Trick or treat sign from The Range
Some black (chalkboard or acrylic) paint – I used this one – it’s one of my favorites!
Hot glue
A ruler and a pencil
Silver or gold paint – this is the one I used
Some spiders or other Halloween decorations – check out your local shops for the best bargains 🙂
Black frame from The Range
Halloween Ribbon
Autumn Designer paper block
Let’s get trick or treat spooky!
I started with simply painting the sign black. There’s not a lot to this, just make sure you get into those little grooves.

Next I took a ruler and a pencil to draw the shape of a spider’s web onto the sign. There’s obviously lots of gaps because of the letters but that’s OK – you’re only going for a rough outline.
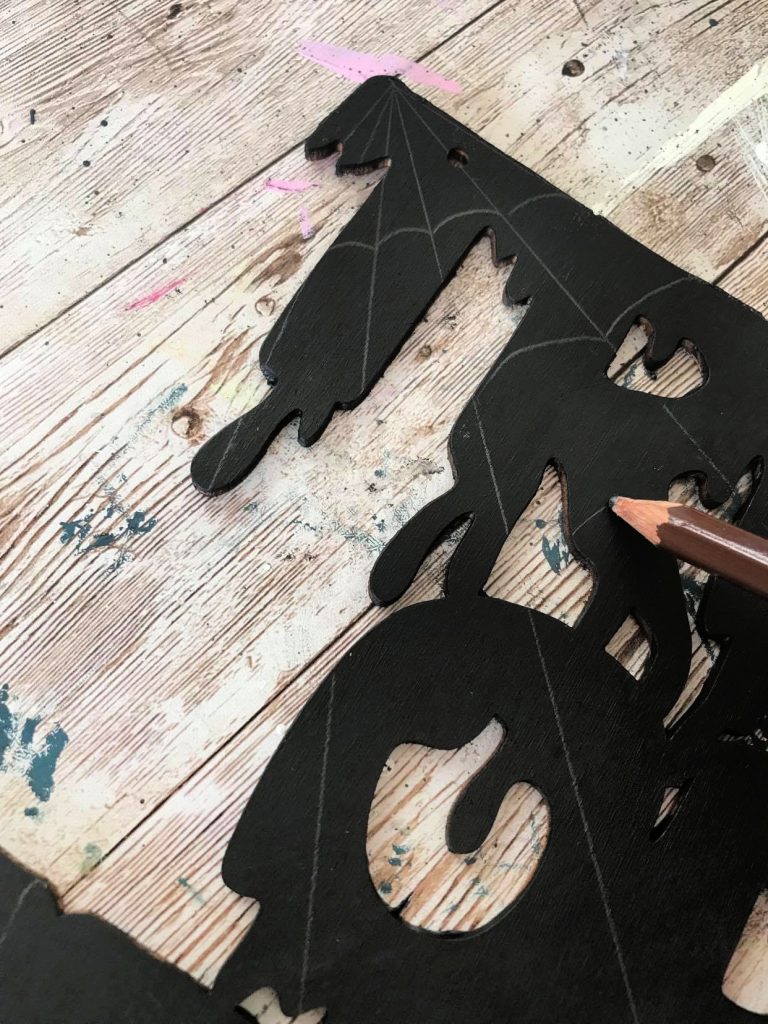
Grab your hot glue gun and as best you can trace those pencil outlines with the hot glue.
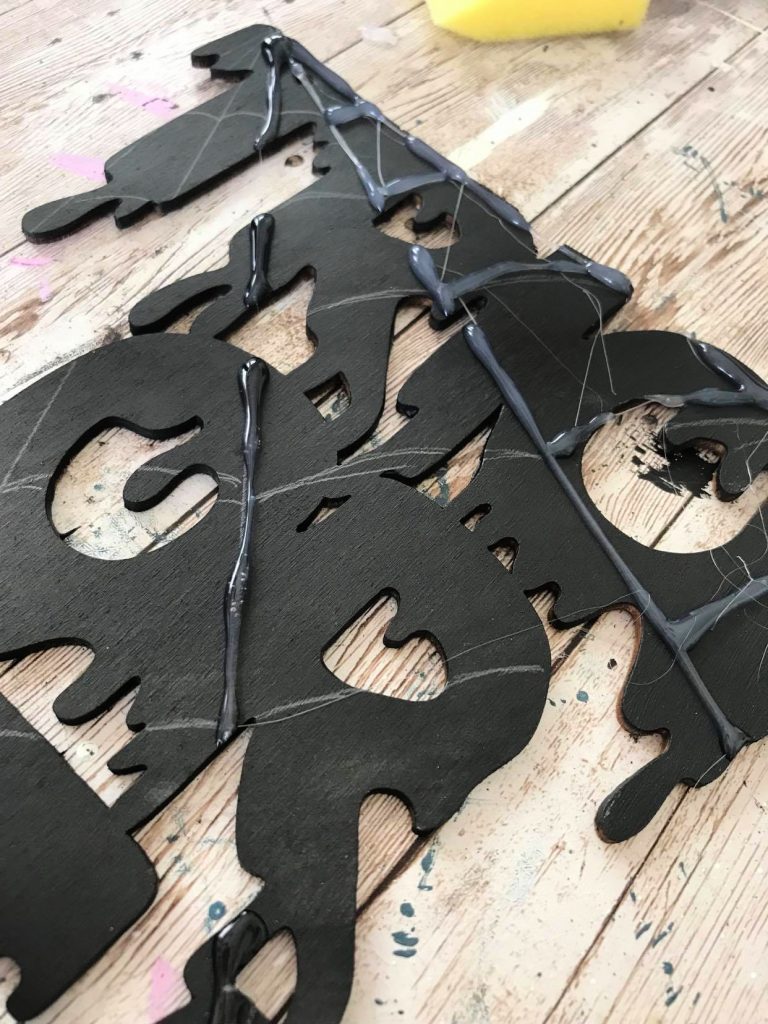
Leave to dry and get rid of any hot glue strands. Once it’s all dry give your sign another coat of black pain to cover the glue.

I know the paint is still drying here (I get a little impatient!), but already it’s looking SO much better! How gorgeous is that detail?!
Now for the magic bit! We’re going to be highlighting the web. I used silver for this bit, but you can go with whatever color you want.
The secret is to go very light on the paint! Add some paint onto your brush and wipe off any excess onto a paper towel. You only want the slightest bit of paint left on your brush for this dry brushing technique.
With the brush start touching the bits that you’ve glued.


I did my very best to only hit the hot glued bits, but as you can see, some of the paint went on the edges too. So in the end I decided to dry brush the whole sign. And actually LOVED it (I always say things happen for a reason!)

adding some colour
I’m really happy with how the sign has turned out, but you know me .. I need EXTRA!! I used the stripy orange paper from this cardstock and used a cheap picture frame from The Range.

Pop out the glass from the frame and attach the paper to the backing with some double sided tape.

I made a messy bow with this ribbon from The Range and some left over ribbons from my craft stash.

The finishing touches!
To add some more fun and detail to the sign I dry brushed the actual frame to match the Trick or Treat sign. Just hit those edges with the silver paint

I grabbed a few spiders and gave them a bit of a silver makeover too. Hot glue those babies straight onto the sign.

Can you see where some of the glitter has come off and hit the sign? – not planned, but of course glitter does what glitter does! And fortunately I think it looks great on the wording.
Finally, I had some skulls (random .. but of course! ..) and hot glued one of them on top of the bow. I can’t remember where I got these but I think it was a Pound Stretcher job. If you can’t find the exact ones, use some of your own Halloween decorations. I’m thinking a bat, or a spider, or some bones .. you get the idea!

Spooky makeover complete!
I’m REALLY pleased with how this has turned out! The hot glue spider’s web is so effective.


I think it looks great to welcome any spooky trick or treaters on Halloween night.

I’m still working out exactly where I’ll have mine, but will have great fun to style it with some accessories, such as this black feather boa!

Or propping it up on a dresser somewhere. With a random skull of course 😉

Need some more spooky inspiration? Check out how you can COMPLETELY transform an old frame and turn it into a Halloween decoration!
Could you Pin me so others can find it too?

Some of the links in this post may be affiliate links, which means I earn a small commission if you decide to use my link to purchase something (at no extra cost to you!). This will allow me to continue to share great ideas and projects with you guys, so I would be grateful if you did!
Follow me on Social Media!


Leave a Reply