As we’re approaching Christmas and the end of 2020, I think we can safely say that this has been a year like no other! Whatever your opinion on Covid, it’s been an uncertain and anxious year for most of us. People have lost their confidence, their jobs, businesses and of course sadly a lot of people have lost their lives.
We often think of Christmas as a time of joy and peace. A time to think and spend with loved ones. But of course for many it is also a time of incredible sadness. And so I wanted to share this idea of reserving a special seat for those who can no longer be with us to celebrate. I truly hope that you are OK, and sending love and best wishes to you and your families.
What you need for your christmas in heaven lantern:
- A glass lantern – mine is approximately 38 cm high (not including the handle) – The Range do a gorgeous copper one
- A miniature rocking chair – I got mine from The Range, but Amazon have this gorgeous red one here, which is all ready to go
- Some red acrylic paint (optional, but I wanted to paint my chair red)
- A brush tree (I bought mine from Hobbycraft), or Amazon do a set of 4 here
- Some small lights – I used these ones
- Some fabric or snow blanket for the floor
- A ribbon for the top of the lantern (or some Christmas foliage if you prefer)
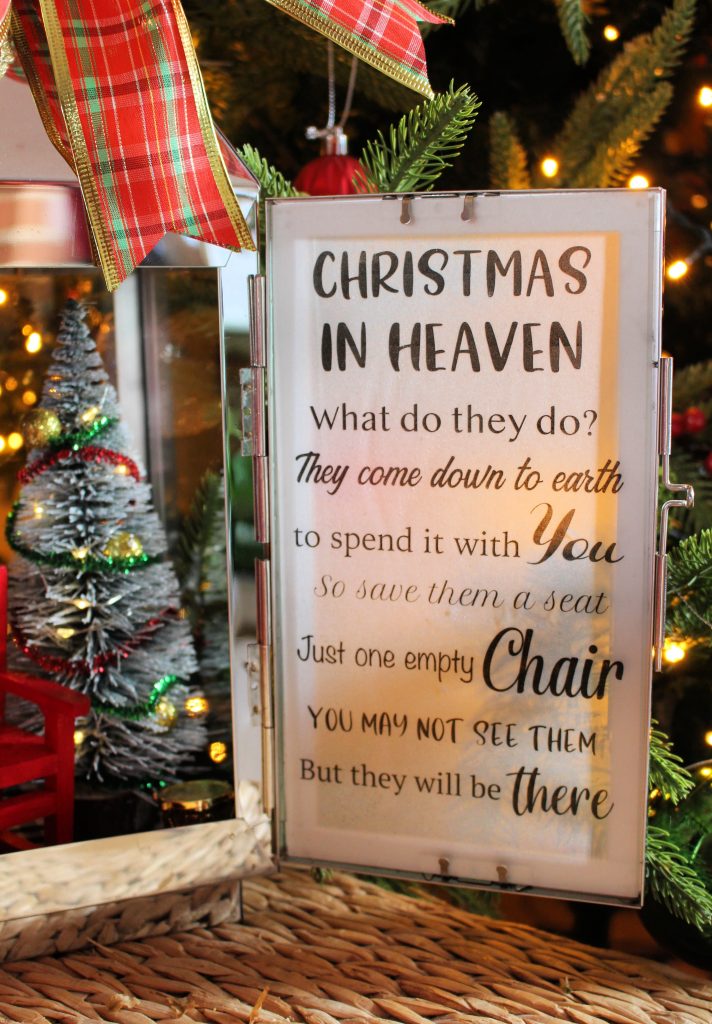
- The poem to stick to one one of the windows – you can download the poem here
How to create your christmas lantern
As I mentioned I painted my chair red. This can be a bit fiddly and messy, but it’s definitely not difficult. Cover with some acrylic paint and leave to dry.


Add your lights to your chosen tree. This is just a case of wrapping the string of little lights around the brush tree. Add some batteries and you’re done.

I added some more decorations to the tree by using some glittery craft pipe cleaners. And some gold baubles that came from this foliage kit at The Works. I just cut them down slightly and pushed them into the tree.
making the floor
I cut a piece of cardboard to the size of the bottom of the lantern. This will be your “floor” and I chose to cover it with some material that I had left over from a previous project. Cut the fabric (or snow blanket if you prefer) to size. Cover the cardboard with some Mod Podge and glue the fabric onto the card.
Next turn it over and use some more Mod Podge on the back to glue down all the sides. Follow this step until you’ve done all 4 sides (pic 6). That’s your floor done!

grab some cardboard 
Cut the fabric to size 
Mod Podge the cardboard 
Stick the fabric to the card 
Mod Podge the sides and fold fabric over 
Complete all 4 sides
adding the poem
Download and print the poem. You can attach this on whatever side of the lantern you want, but I chose to leave the door open and attach it on the inside. This way you can still get a good look of the cozy inside of the “living room” too. I printed it on some tracing paper but of course you can use any normal copying paper for this.
To stick it onto the glass I used some spray glue which I sprayed directly onto the glass. I carefully placed the paper with the wording on top and carefully pressed it down. To get some of the bubbles out I covered it with some clingfilm and used a credit card to push away the bubbles. This is to avoid tearing the paper so be careful. Alternatively you can use some double sided tape to stick it down to the glass.

Put the glass back in the open door (see pic below).
Place your tree and chair into the room. You can further decorate with small ornaments or presents under the tree. Maybe with something that is personal to the person. Like an old favourite Christmas ornament? I still had a tiny Santa hat that I have just placed on the back of the chair. As well as a small Christmas golden drum on the floor.

finishing touches
Finish off your lantern by adding some greenery and/or a bow on the top. You can get these from any of your local garden centres or shops. Alternatively Amazon do these.
I used a big bow, which I think was enough to finish off the project. I actually made this with an E-Z bow maker which my husband bought me for my last Christmas. Can you believe it’s the first time I’ve taken it out of the packet? It’s taken me nearly a year .. Shame!! Shame!! .. I loved using it and can see myself making many more bows this Christmas 🙂 I hot glued the gold bauble straight onto the bow.

I hope you like the idea, whether it’s for yourself, or for a friend who may like it as a present. And of course it’s such a personal project. There really is no wrong or right way of making this. Dress it up with what feels right for you.
Much love to you and your loved ones.
If you loved this project, would you share this for me so others can find it too?

Some of the links in this post are affiliate links, which means I earn a small commission if you decide to use my links to purchase something (at absolutely no extra cost to you!). This will allow me to continue to share great ideas and projects with you, so I am very grateful for your support!
Leave a Reply