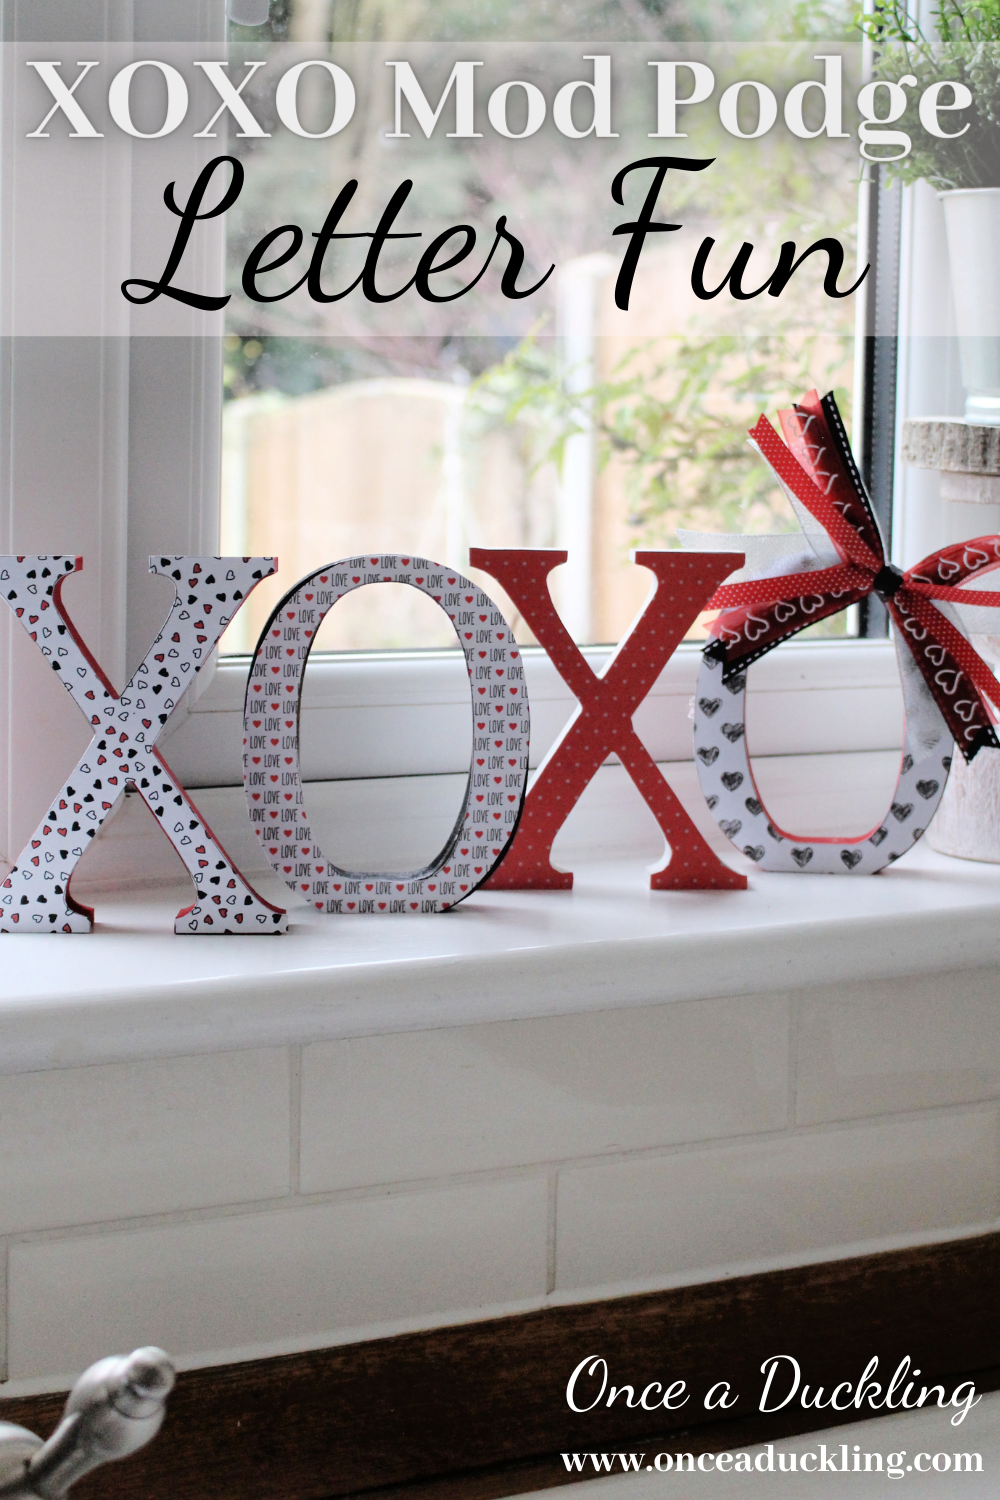
Aaahhh Mod Podge. Whether it’s some letters, a piece of wood or even a piece of furniture, Mod Podge is just sooo versatile for a budget quick fix project. And sometimes these basic projects are the best! Old is gold as they say. Like these paper mache letters from Hobbycraft. Let’s give them a quick Valentine makeover!
OXO .. definitely does not have the x factor ..
I’ll be honest with you, I had these letters finished about a fortnight ago. But .. I forgot to a second “X” to the shopping basket. I thought I’d finish them, but it just didn’t look right .. OXO just didn’t shout “Valentine” to me. See what I mean?
And so I lived with “OXO” on the window sill for a while until I could get a second X to finish the project.
here’s what you need for your Valentine project
Some paper mache letters – I used the 13 cm ones X and O
Acrylic paint in colours of your choice – I used red, white and black
Some scrapbook paper
Mod Podge
Pencil or pen
Brushes
Scissors – my absolute favourite are these from Tim Holtz
make your own design
The process itself is super-easy. I used this Lipstick Basics design pad with black, white and red paper as the basis for my letters. I bought mine at The Range for only £2.99.
Unfortunately I can’t see the same one on line but Amazon do a really cute Valentine design pad here.

I decided to mix up the paint colours with red, white and black to mix and match the paper.
As you can see, I painted the whole of the back, but only the edges of the part that is going to be covered by the paper.


I simply traced out the paper and cut it to size.


Stick the paper onto the letters with some Mod Podge. As always, use a generous amount and take particular care to stick down those edges! Leave to dry and add another layer of Mod Podge over the top of your paper.

Here’s a little tip – you’d think these letters are completely symmetrical wouldn’t you? Well, .. turns out, not necessarily so!! Make sure you know what is back and front before slapping on the Mod Podge.
Finally, I added a colourful bow in the same colours to one of the O’s. Want to check out exactly how to make THE easiest bow? You can catch a small video on how to create a bow in under a minute in my video here. They really are super-easy and great for finishing off a project!!

Add the bow to your design with some hot glue.
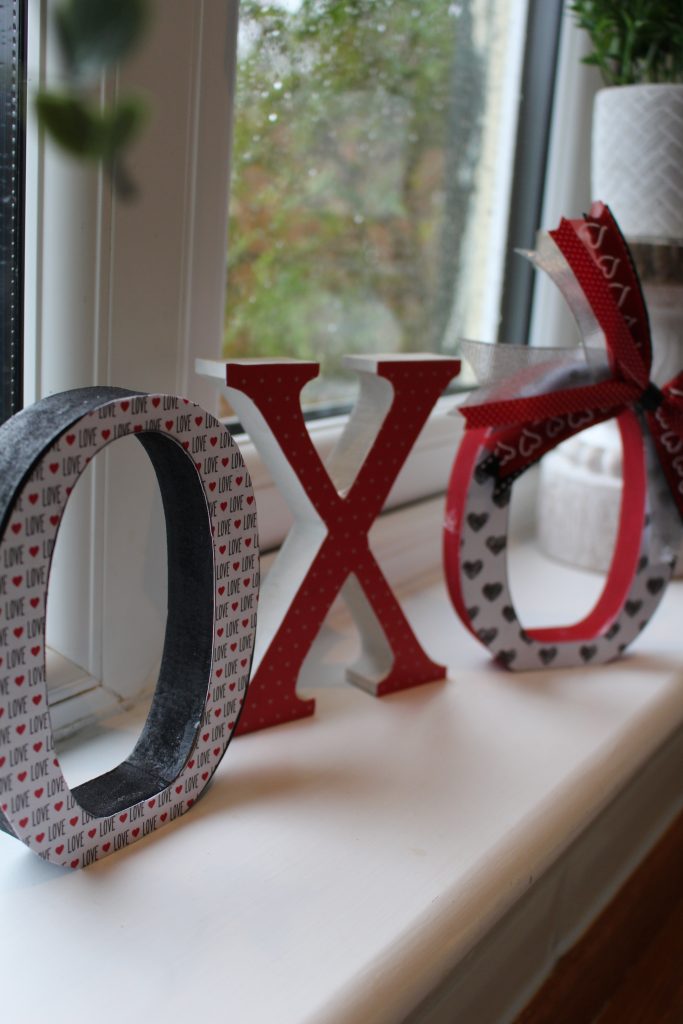
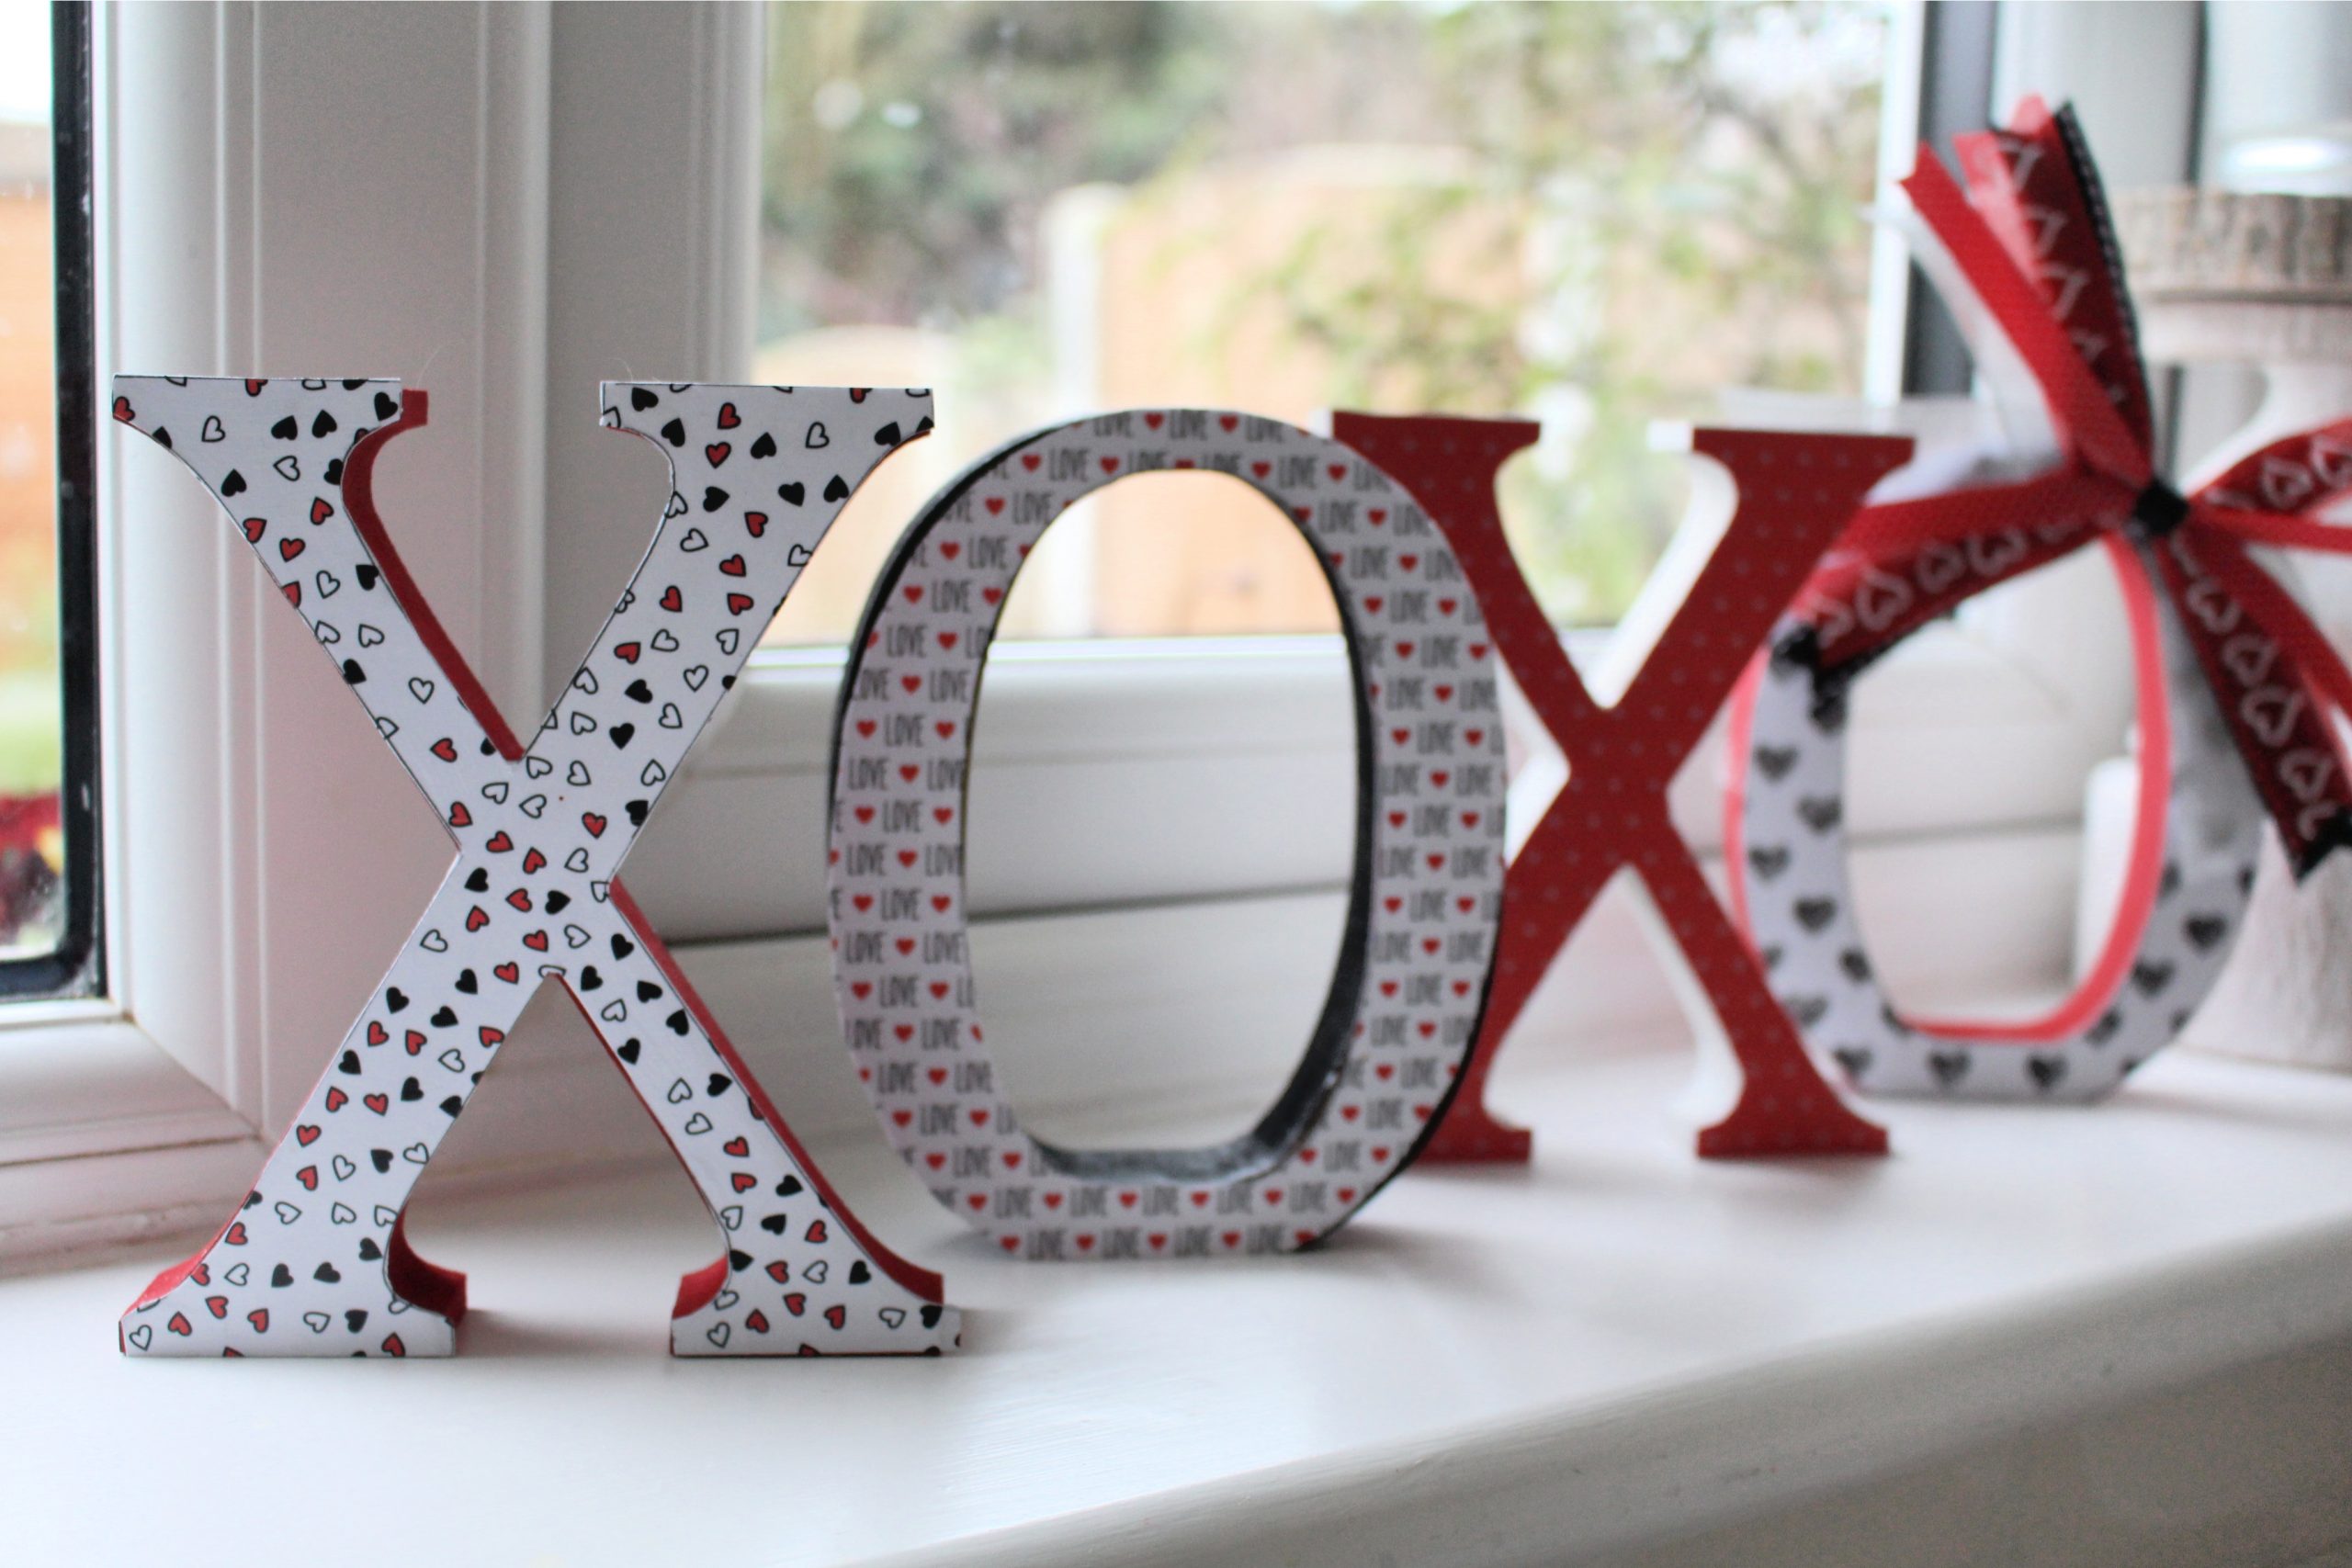
the results
Ta-dah!! So much better than OXO .. 😉
Here’s another peek how they look on our kitchen window sill. (And yes, the window needs cleaning but it’s been raining here for days!!)

Until we get some brighter weather I’m happy with the splash of colour this is bringing to our kitchen.

Would you Pin this for me?
Some of the links in this post are affiliate links, which means I earn a small commission if you decide to use my links to purchase something (at absolutely no extra cost to you!). This will allow me to continue to share great ideas and projects with you, so I am very grateful for your support!
Follow me on Social Media!
Leave a Reply