I know you love yourself a great little easy and budget project!! But, what about two cute creations all rolled into one?! Just by making this bunny reversible you can swap it around depending on what mood you’re in. Or match what colour flowers you happen to have in your home 😉 Let’s go!
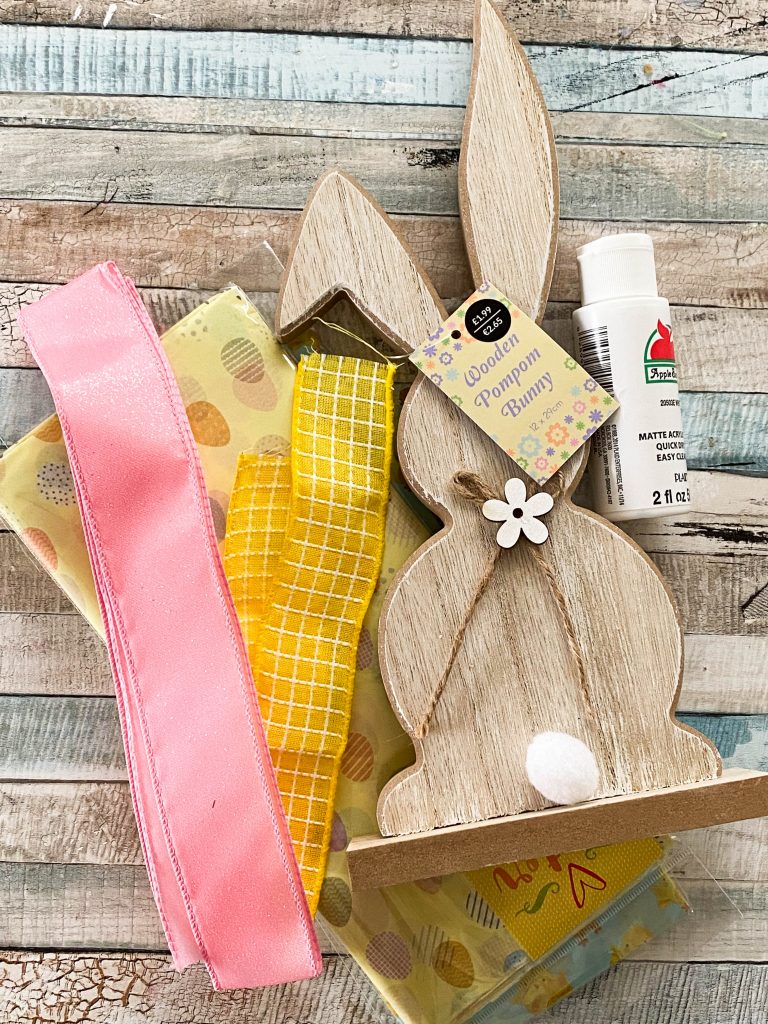
here’s what i used for my reversible bunny
This budget bunny from The Range (a bargain at £1.99!)
Tissue paper – I got mine from Home Bargains but Ebay do the same ones here
Mod Podge – Matt finish is my favourite
Some left over ribbons – from USAtoUK wreaths
White acrylic paint
A few colourful pom poms for their tails
Scissors
first things first
I started off by taking off the white pom pom and the little tag on the bunny to create a “clean canvas”. Once you’ve done that, give it a quick clean (or sand down with some sandpaper if needed) to get rid of any glue residue.
Next, give your bunny a layer of white acrylic paint on both sides.
When you are using a napkin or tissue paper or decoupaging it’s important to have a white background if you want the colors to be bright and vivid.

Leave to dry or blast it with a hairdryer to speed up the process.
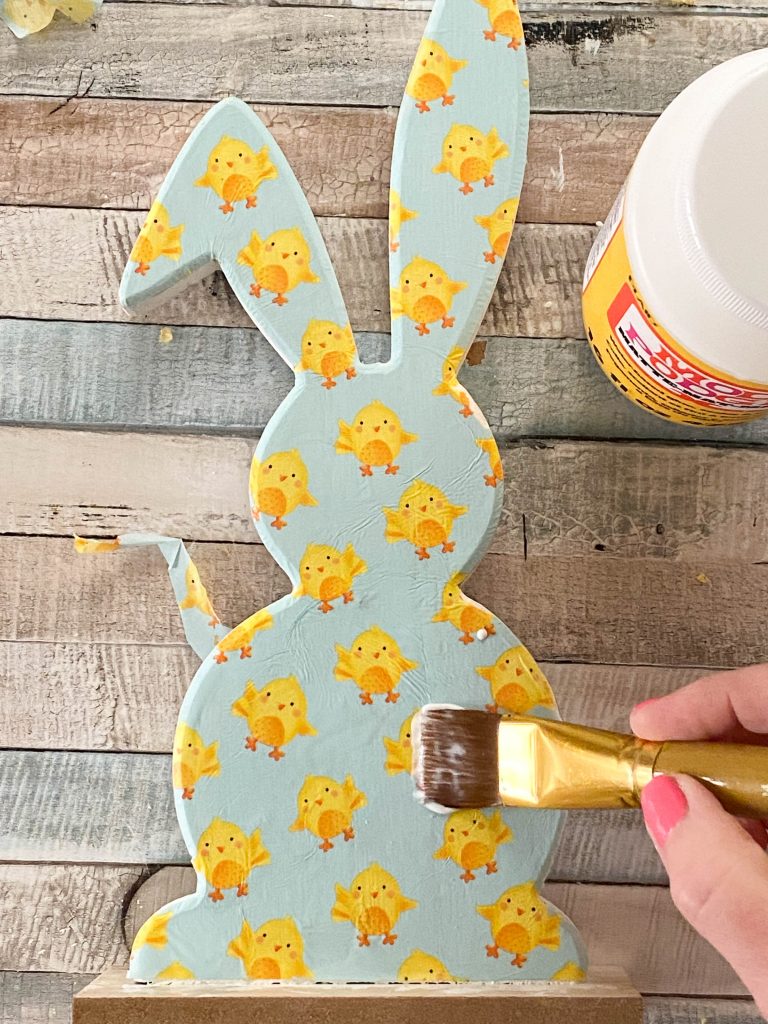
Next, cut a piece of your tissue paper to the right size.


Add a layer of Mod Podge to your bunny and carefully place the tissue paper on top. Make sure to keep your paper as smooth as possible to avoid wrinkles and bubbles.

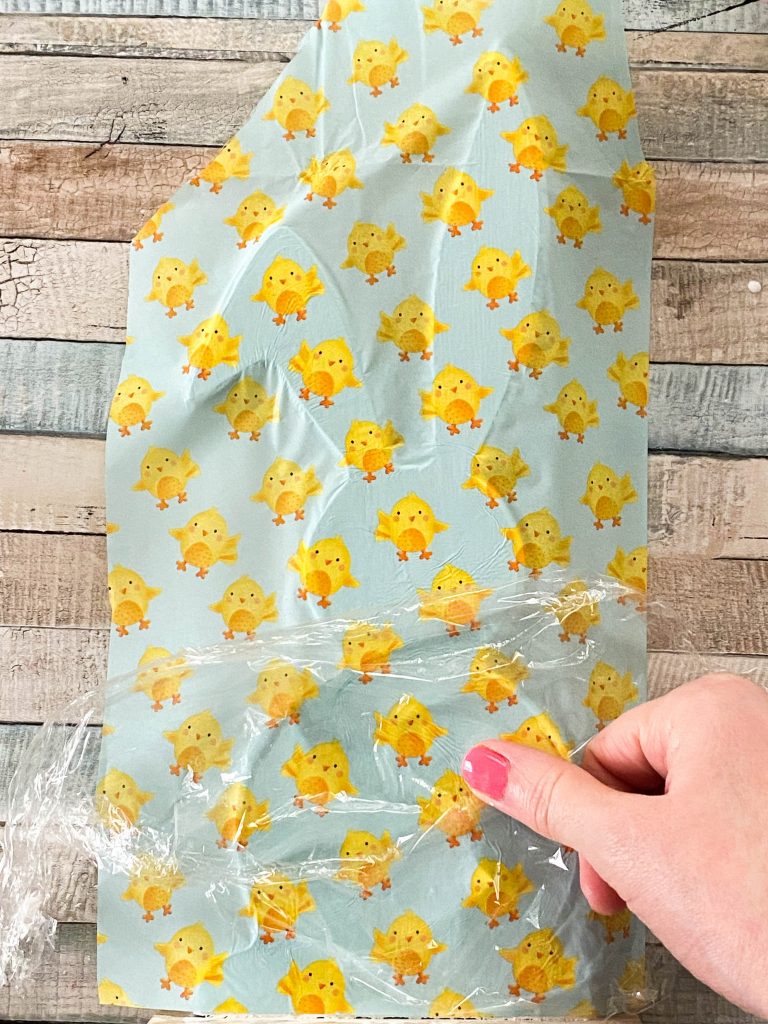
To help get out any of the wrinkles I really recommend taking a bit of cling film or a plastic bag and placing this over the top of the project. With your finger smooth out any creases. The plastic will form a barrier between your project and your fingers but still take care not to go in too heavy handed as it can tear quite easily!
I find that getting rid of all the wrinkles is near enough impossible when you are working with tissue paper or napkins, but you won’t really notice the smaller ones when it’s all dried and jazzed up! Besides, as I always say .. “it adds character!”
Getting rid of the excess paper
Once you are happy how the paper is looking on the bunny, leave this to dry, or again use your hairdryer to help it to dry quicker.
To get rid of the excess paper I use an emery nail file for a small project like this as it really allows me to get into the smaller areas.
Making a cut in any corners that you need to get into will make it easier to get rid of the smaller bits of paper.

Give your project another layer of Mod Podge to project it and leave to dry.
Take two of your reversible bunny
Now for the other side, you follow exactly the same process!


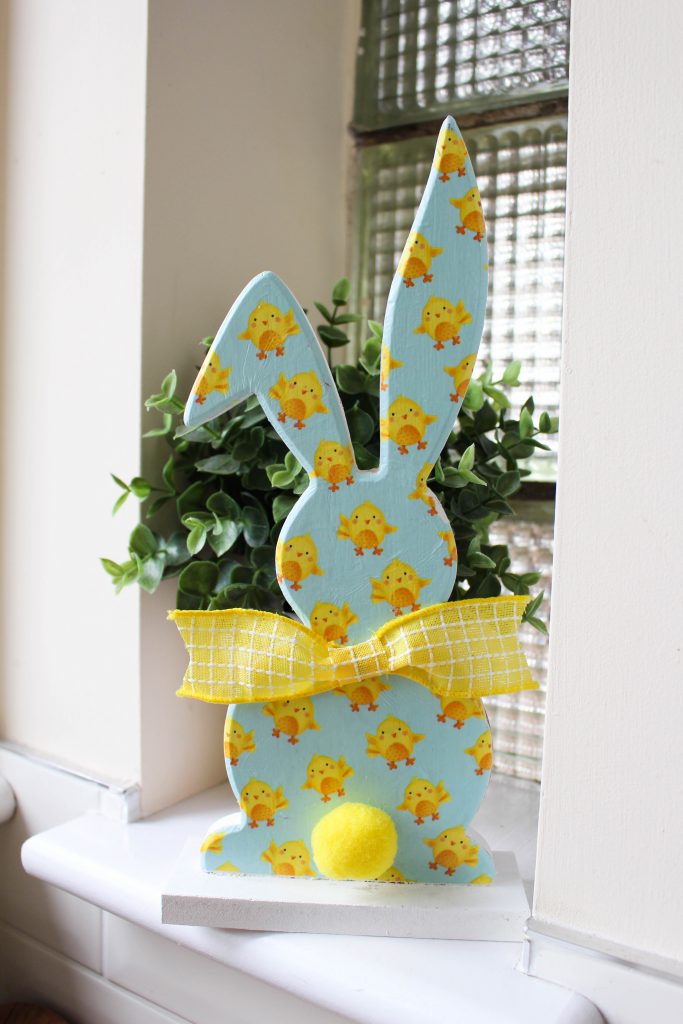
I created a lovely yellow bunny for the other side by following the same steps as above.
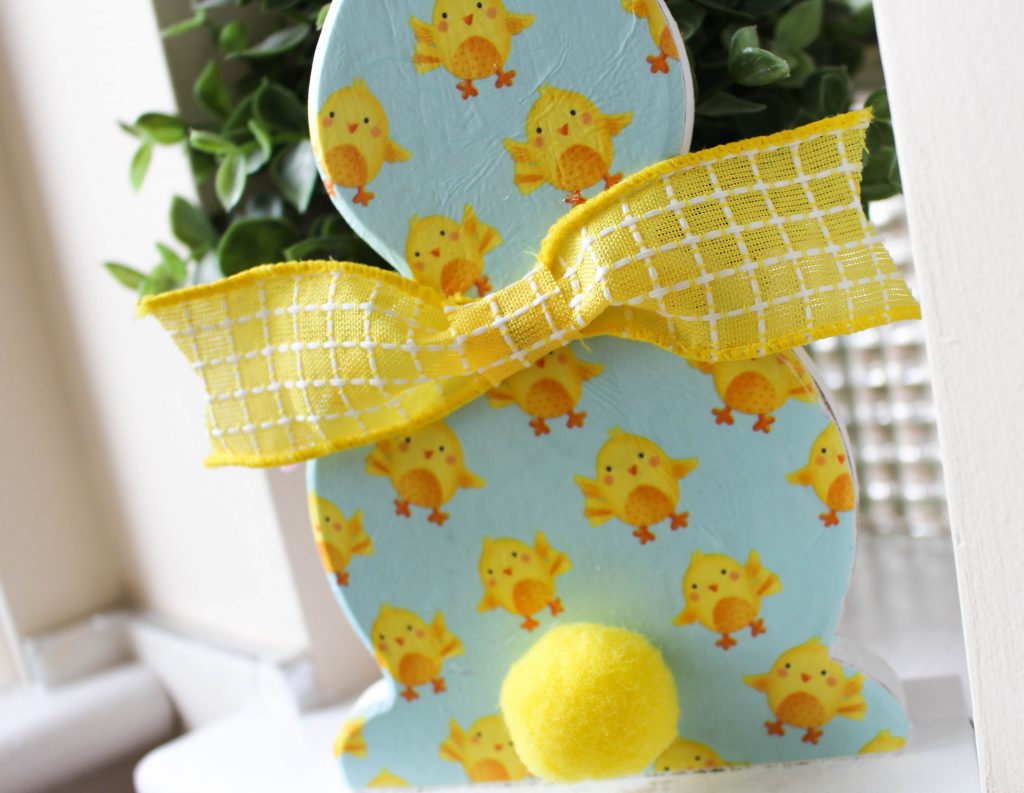
To finish off your reversible bunny, grab yourself a few small bits of ribbon and create 2 cute little bows. You can find the technique on how I made this little bow in my blog post here!
Finally I added a yellow pom pom on his tushy to give him a little tail. Let’s have a look to see how it turned out!
P.S. oh, and I painted the bottom with a layer of white acrylic paint too! I forgot to do this initially.


Let’s see what we’ve created!
I think this has turned out so cute!!
Who can resist a little bunny tail?
And the “pink side” has turned out equally adorable!

I have tucked in the bow on the other side so you can’s see it. Perfect with wired ribbon!

At the moment I’ve got the yellow side facing. This is how it looks in the kitchen as we speak.

And here’s a peek of both sides of the reversible bunny side by side? Which one is your favourite?


Pin me for later!

Some of the links in this post may be affiliate links, which means I earn a small commission if you decide to use my link to purchase something, at no extra cost to you! This will allow me to continue to share great ideas and projects with you guys, so I would be grateful if you did ?
Make sure to check out these projects too!


Follow me on Social Media!


Leave a Reply